Introduction to the World’s Easiest Yeast Bread Recipe
Have you ever thought about how making your own bread could transform your kitchen experience? With the world’s easiest yeast bread recipe, you can discover the joy of baking without the fuss. Picture yourself coming home after a long day at work, the aroma of freshly baked bread wafting through your apartment. Not only is it immensely satisfying, but baking bread can also elevate your cooking game, impressing friends and family with minimal effort.
Why Homemade Bread is a Game-Changer for Young Professionals
In our fast-paced lives, finding time to unwind can be challenging. That’s why homemade bread is a true game-changer for young professionals. Imagine the simple pleasure of kneading dough or watching it rise as you sip your favorite herbal tea. Baking can become a meditative practice, allowing you to disconnect from screens and reconnect with the tangible world.
Moreover, making your own bread is a fantastic way to elevate your meals. Store-bought bread often lacks the flavor, freshness, or nutritional value that homemade bread provides. According to a study by the American Baker’s Association, artisan bread consumption has surged, with many people craving that homemade taste. Plus, you have complete control over the ingredients, meaning you can avoid preservatives and artificial flavors typical in commercial products.
- Health Benefits: Homemade bread allows for healthier modifications; think whole grains or gluten-free options.
- Cost-Effectiveness: Making bread at home can save you money compared to continuously purchasing artisan loaves.
So, whether you’re looking for a stress-relief activity, a way to impress your dinner guests, or a healthier alternative to store-bought bread, this simple artisan, no-knead crusty bread recipe could be exactly what you need. You won’t just be making bread; you’ll be cultivating a rewarding new hobby.
Get ready to roll up your sleeves and awaken the baker within. With this world’s easiest yeast bread recipe, you’ll understand why baking at home is so much more than just a culinary task—it’s a source of joy and creativity. Stay tuned as we break down the step-by-step process to making your own delicious bread!
Ingredients for the World’s Easiest Yeast Bread
Essential ingredients for perfect homemade bread
Creating the world’s easiest yeast bread recipe requires just a handful of essential ingredients. To get started, you’ll need:
- All-purpose flour: This is the backbone of your bread, providing structure and texture.
- Active dry yeast: Make sure it’s fresh for that perfect rise—the key to light and airy bread.
- Warm water: Just warm enough to wake the yeast up; think about baby bath water temperature.
- Salt: Not just for flavor, but also to strengthen the dough.
- Olive oil (or melted butter): A touch of fat adds moisture and enhances flavor.
Ingredient substitutions and notes
If you’re in a pinch, here are some common substitutions you might find helpful:
- Flour: Whole wheat flour works too, though you may need to adjust the water slightly.
- Yeast: Instant yeast can be swapped in without needing to proof it.
- Olive oil: You can use melted coconut oil or any neutral oil instead.
For more tips on ingredient swaps, check out a detailed resource by King Arthur Baking. This will help you perfect your world’s easiest yeast bread recipe with whatever kitchen staples you already have on hand!
Step-by-step Preparation of the World’s Easiest Yeast Bread
If you’ve ever been intimidated by the idea of making your own bread at home, you’re in for a delightful surprise! This world’s easiest yeast bread recipe is as simple as it gets—no kneading required. Follow these easy steps to create a fragrant, crusty loaf that will impress anyone, even yourself. Let’s dive in!
Mixing the dough
Start by assembling your ingredients:
- 3 cups all-purpose flour
- 1½ teaspoons salt
- 1 teaspoon instant yeast
- 1½ cups water
In a large mixing bowl, combine the flour, salt, and instant yeast. Using a wooden spoon or your hand, stir in the water until just mixed—don’t worry about lumps; that’s perfectly fine! The dough should feel shaggy, and don’t hesitate to get a little messy; this is part of the fun!
It’s important to use instant yeast here as it allows for a more straightforward, relaxed approach. For more about different types of yeast, check out this insightful article here from King Arthur Flour.
Allowing the dough to rise
Once mixed, cover the bowl tightly with plastic wrap or a clean kitchen towel. This step is crucial as the dough needs time to rise and develop those lovely, airy bubbles. Leave it at room temperature for about 12 to 18 hours. Ideally, you want to let it rise until it doubles in size and the surface is dotted with bubbles. This slow fermentation process allows for a richer flavor profile.
It’s almost like a magic trick! While you wait, you can daydream about all the delicious sandwiches you can make with your freshly baked bread. You could even invite some friends over to share the experience.
Prepping for baking (shaping and preheating)
After your dough has risen, it’s time to shape it! Dust your work surface with a little flour and dump the dough out gently—be careful not to deflate it too much. With floured hands, shape it into a rough ball. This part doesn’t need to be perfect.
While you’re shaping, preheat your oven to 450°F (about 232°C). If you have a Dutch oven or an oven-safe pot with a lid, place it inside the oven to preheat as well. This will create a steam-rich environment that helps develop that beautiful crust.
If you’re using a baking stone, make sure it’s nice and hot before you bake—this ensures a quick “spring” in the bread (and no one likes flat bread). Check out this guide on creating a steam oven effect for some great tips.
Baking the bread
Once your oven and pot are hot, carefully remove the pot. Place your shaped dough inside, cover it with the lid, and pop it back into the oven. Bake for 30 minutes covered, then remove the lid and bake for an additional 15-20 minutes, or until the crust is a deep golden brown.
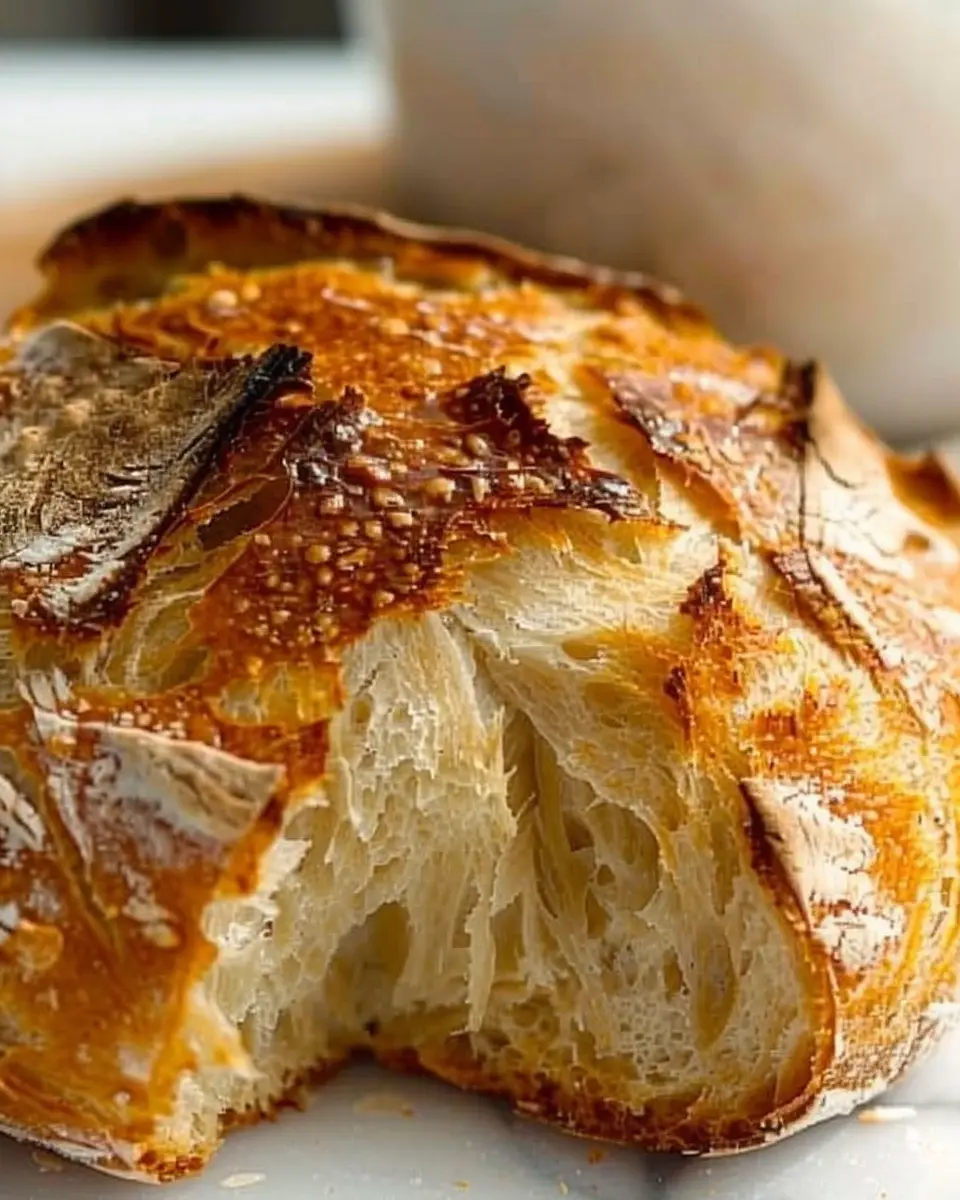
You’ll know it’s done when your kitchen smells incredible and the sound of the crust cracks ever so gently when tapped. Enjoy this anticipation—it means you’re almost ready to savor your creation!
Cooling and slicing
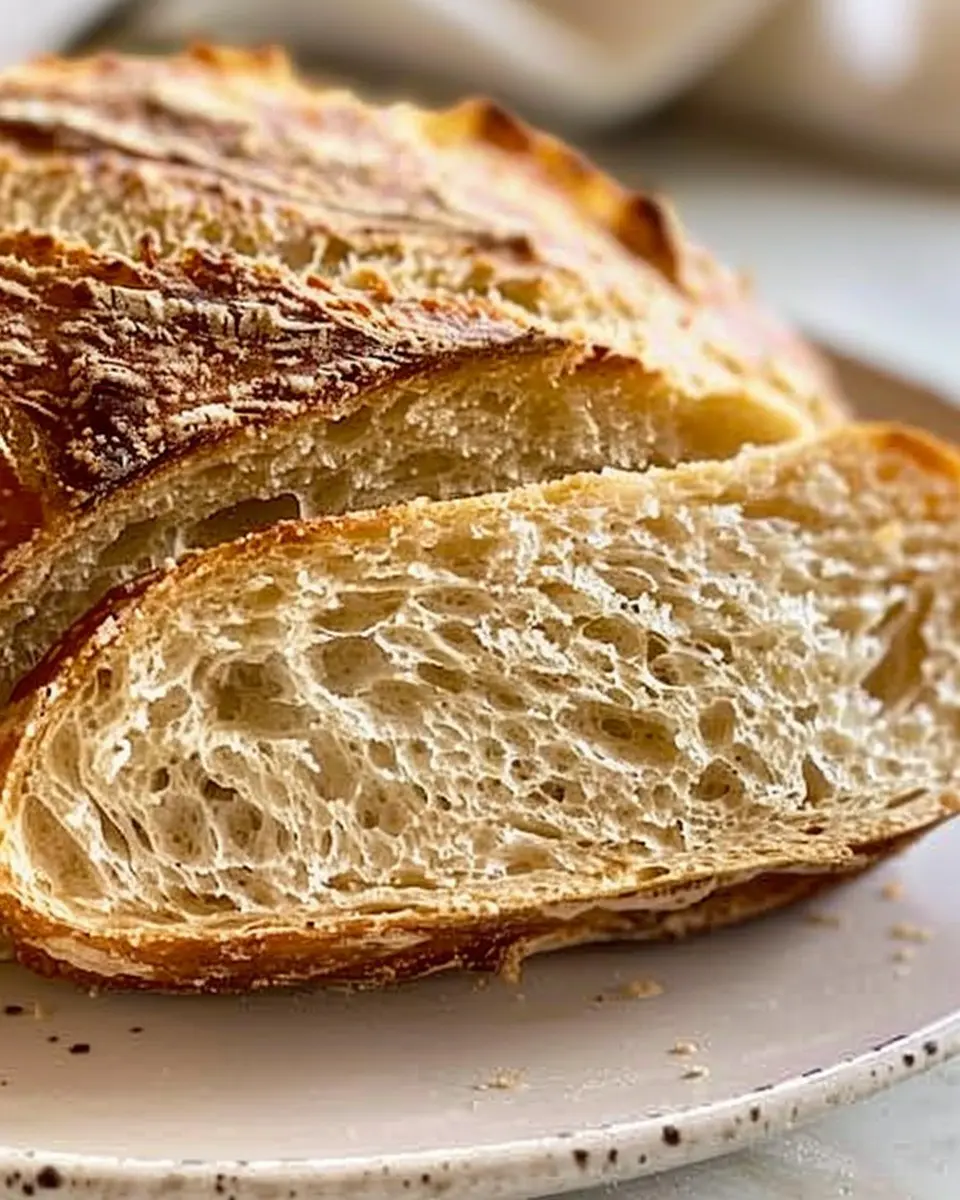
Once baked, transfer your loaf to a wire rack to cool for at least 30 minutes. I know it’s hard to resist the temptation to slice into it right away, but letting it cool will enhance the texture and flavor of the bread.
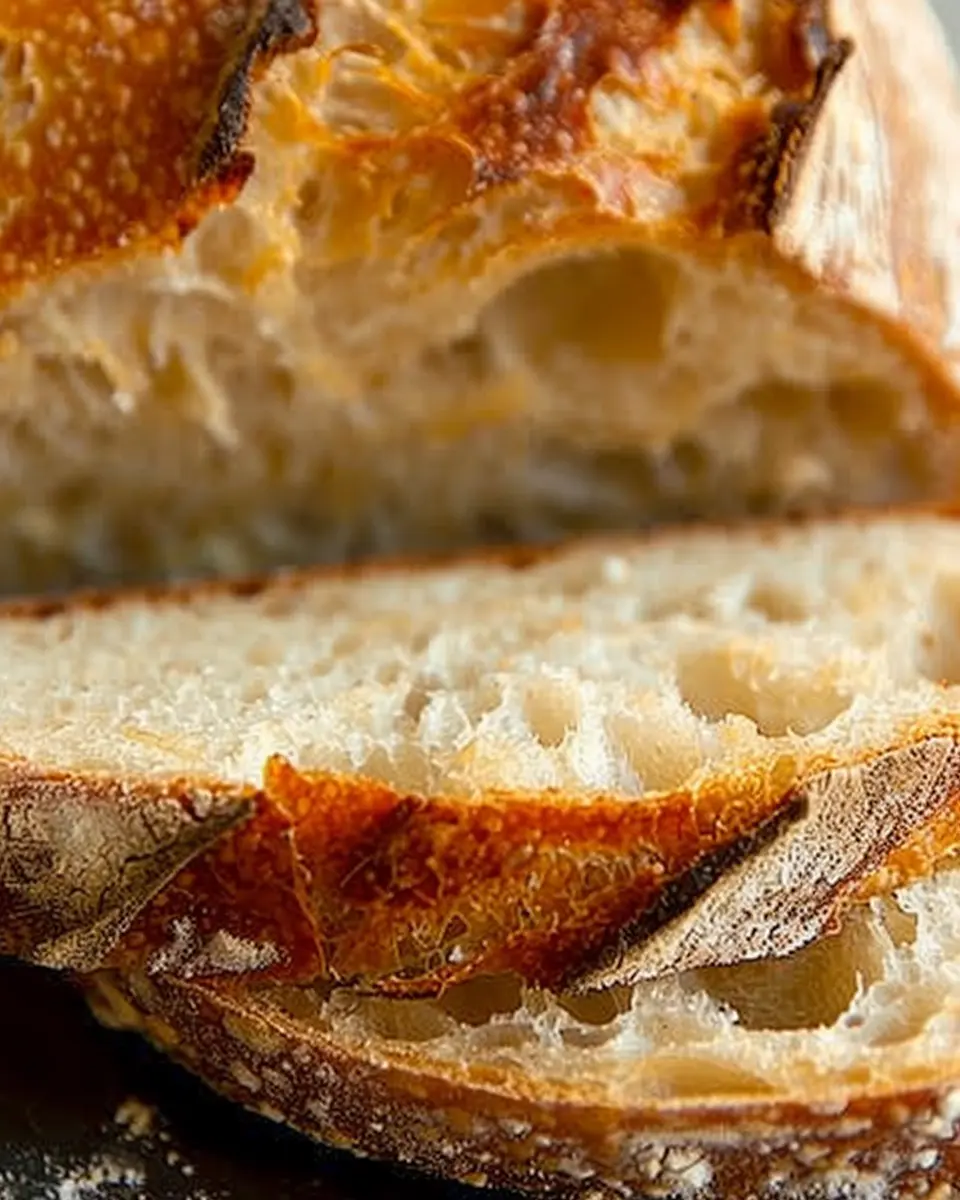
When you finally cut into it, revel in the crusty exterior and soft, pillowy interior. Try enjoying it with a spread of cream cheese and turkey bacon or use it to make a sandwich with chicken ham—the possibilities are endless!
Making your own bread at home doesn’t have to be daunting, and this world’s easiest yeast bread recipe proves that deliciousness is well within reach. Happy baking!
Variations on the World’s Easiest Yeast Bread
When it comes to the world’s easiest yeast bread recipe, the beauty lies in its versatility. You can easily tweak it to suit your tastes or even the seasons. Let’s explore some flavorful additions and alternative bread styles that will elevate your baking game.
Flavorful additions to elevate your bread
Think of your basic yeast bread as a blank canvas just waiting for colors and textures. Here are some ideas:
- Cheese: Stir in shredded sharp cheddar or crumbled feta for a savory twist.
- Herbs and Spices: Add dried Italian herbs or even a teaspoon of garlic powder for extra flavor.
- Nuts and Seeds: Fold in walnuts, sunflower seeds, or pumpkin seeds for crunch and added nutrition.
- Dried Fruits: Raisins, cranberries, or even chopped figs can bring a delightful sweetness to your bread.
Each of these additions can offer a unique spin, making the world’s easiest yeast bread recipe a source of endless creativity. If you’re looking for a great place to start, you might find inspiration here at King Arthur Baking.
Alternative bread styles you can try
Why stop at just one type of bread? This simple recipe is the perfect base for various styles. Here are a few to consider:
- Focaccia: Top with olive oil, coarse salt, and fresh rosemary for a rich, flavorful flatbread.
- Pizza Bread: Shape it into a flatbread and load it up with your favorite pizza toppings.
- Breadsticks: Roll out thin strips and bake them for delicious dipping accompaniments.
Variations not only keep things exciting in the kitchen, but they also allow you to cater to different occasions, whether it’s a casual dinner with friends or a special gathering. With just a few tweaks, your bread can become the star of the show!
Cooking Tips and Notes for the World’s Easiest Yeast Bread
Common pitfalls and how to avoid them
Making the world’s easiest yeast bread recipe can’t go wrong—unless it does! Here are some common pitfalls and simple fixes:
- Water Temperature: Make sure your water’s not too hot or cold. Ideally, it should be around 110°F. Too hot can kill your yeast, while too cold may slow it down.
- Rising Time: Don’t rush the dough! Let it rise until it doubles in size; patience is key to that perfect crust and fluffy interior.
- Flour Type: Different flours absorb water differently. You might need to adjust the amount you use based on the brand.
How to store your homemade bread effectively
Storing bread properly is essential to maintain freshness. Use these tips:
- Cool First: Let your bread cool completely before wrapping it to avoid sogginess.
- Wrap It Right: Use a clean kitchen towel or parchment paper instead of plastic, which can trap moisture.
- Freezing: If you won’t finish it within a few days, slice it and store it in an airtight freezer bag. Just toast or warm it up when you’re ready to enjoy!
For more insights on bread preservation, check out this helpful resource from the Bread Bakers Guild of America.
With these tips, you’ll master your world’s easiest yeast bread recipe in no time!
Serving Suggestions for the World’s Easiest Yeast Bread
Perfect accompaniments to enjoy with your homemade bread
Now that you’ve mastered the world’s easiest yeast bread recipe, you’re probably eager to find the best ways to enjoy it. Start with some classic pairings that elevate the experience:
- Soups and Stews: A warm bowl of soup, like tomato basil or creamy potato, pairs beautifully with the crusty texture of this bread.
- Cheese and Deli Meats: Opt for turkey bacon or chicken ham for a savory sandwich. Try fresh mozzarella with basil for a simple but delicious delight.
- Spreads: Think about creamy spreads—like hummus or garlic butter—that can turn each slice into a gourmet experience.
Creative uses for leftover bread
Don’t let any of your delicious bread go to waste! Here are some inventive ideas for those leftover slices:
- Breadcrumbs: Pulse stale bread in a food processor for fresh breadcrumbs. Perfect for topping casseroles or incorporating into meat mixtures.
- French Toast: Transform last night’s bread into a delightful breakfast with an easy French toast recipe.
- Bread Pudding: Combine with eggs, milk, and your favorite flavors to create a warm, comforting dessert.
With these suggestions, your world’s easiest yeast bread recipe will take center stage at your next meal! Check out this Bread Recipes guide for even more ideas. Happy baking!
Time Breakdown for the World’s Easiest Yeast Bread
Making the world’s easiest yeast bread recipe is not just about the ingredients; it’s also about planning your time wisely. Here’s a simple breakdown to help you get the most out of your baking experience.
Prep time
This bread recipe is incredibly simple, requiring just 15 minutes of prep time. Measure your ingredients, mix them together, and you’re good to go. It’s that effortless!
Rising time
Let the magic happen during the 12-18 hours of rising time. You can prepare the dough tonight and wake up to freshly risen bread dough for baking.
Baking time
When it’s time to bake, set aside 30 minutes. This includes the preheating of your oven and the actual baking. A little patience goes a long way!
Total time
In total, you’re looking at about 12-18 hours and 45 minutes if you include the rising and baking times. But don’t let that scare you; most of it is hands-off! This means you can enjoy the aroma of baking bread while you tackle your daily tasks.
By breaking it down, you’ll find that the world’s easiest yeast bread recipe fits neatly into your day without overwhelming your schedule. For more tips on bread-making, check out resources from King Arthur Baking or The Bread Lab.
Nutritional Facts for the World’s Easiest Yeast Bread
When enjoying the world’s easiest yeast bread recipe, understanding its nutritional content can enhance your baking experience.
Breakdown of calories
This crusty delight typically contains around 150 calories per slice. This makes it a great option for indulgence without overwhelming your daily caloric intake.
Macronutrients overview
In each serving, you can expect approximately:
- Carbohydrates: 30g — perfect for energy!
- Protein: 4g — ideal for muscle repair.
- Fats: 1g — providing a subtle richness.
These ratios suggest this bread can contribute to a balanced diet when enjoyed in moderation.
Key vitamins and minerals
Furthermore, this bread provides:
- B Vitamins: Essential for metabolism.
- Iron: Crucial for transporting oxygen in the blood.
For those looking to elevate their nutrient intake, consider adding seeds or whole grains to the mix. Crafting your perfect loaf doesn’t just satisfy cravings; it fuels your body, making this world’s easiest yeast bread recipe a wholesome choice. For more on nutritional benefits, you can visit reputable sources like Healthline and NutritionData.
FAQs about the World’s Easiest Yeast Bread
Baking homemade bread may sound intimidating, but with the world’s easiest yeast bread recipe, you’ll find it simpler and more satisfying than ever. Here are some common questions that people have about this delightful activity.
Can I make this bread without a Dutch oven?
Absolutely! While a Dutch oven helps achieve that perfect crust, you can use a baking sheet or a regular oven-safe pot. Just place your dough on the sheet and cover it with a heavy oven-safe bowl to trap steam, ensuring that your bread still turns out beautifully golden and crusty.
What’s the best way to know if my bread has risen enough?
A common technique is to perform the “finger poke test.” When you gently poke the dough with your finger, it should spring back slowly. If the indentation remains, it’s ready to bake. Additionally, look for the dough to double in size, which typically takes about 1 to 2 hours, depending on the room temperature.
How do I keep my bread fresh longer?
To preserve your bread, make sure it cools completely before storing. Wrap it in a clean kitchen towel, then place it in a paper bag for a crusty texture. If you anticipate not eating it within a couple of days, consider slicing it before storing it in an airtight container or freezer bag.
Can I freeze this bread, and for how long?
Yes, you can freeze your world’s easiest yeast bread! Just slice it first for easy serving later. It will be good for about three months. To enjoy, thaw at room temperature or pop slices directly into the toaster. For more storage tips, check out the USDA’s food storage guidelines here.
Baking bread can be a rewarding hobby, and with these tips, you are well on your way to becoming a bread-baking pro!
Conclusion on the World’s Easiest Yeast Bread Recipe
Final thoughts on why you should try making this recipe today
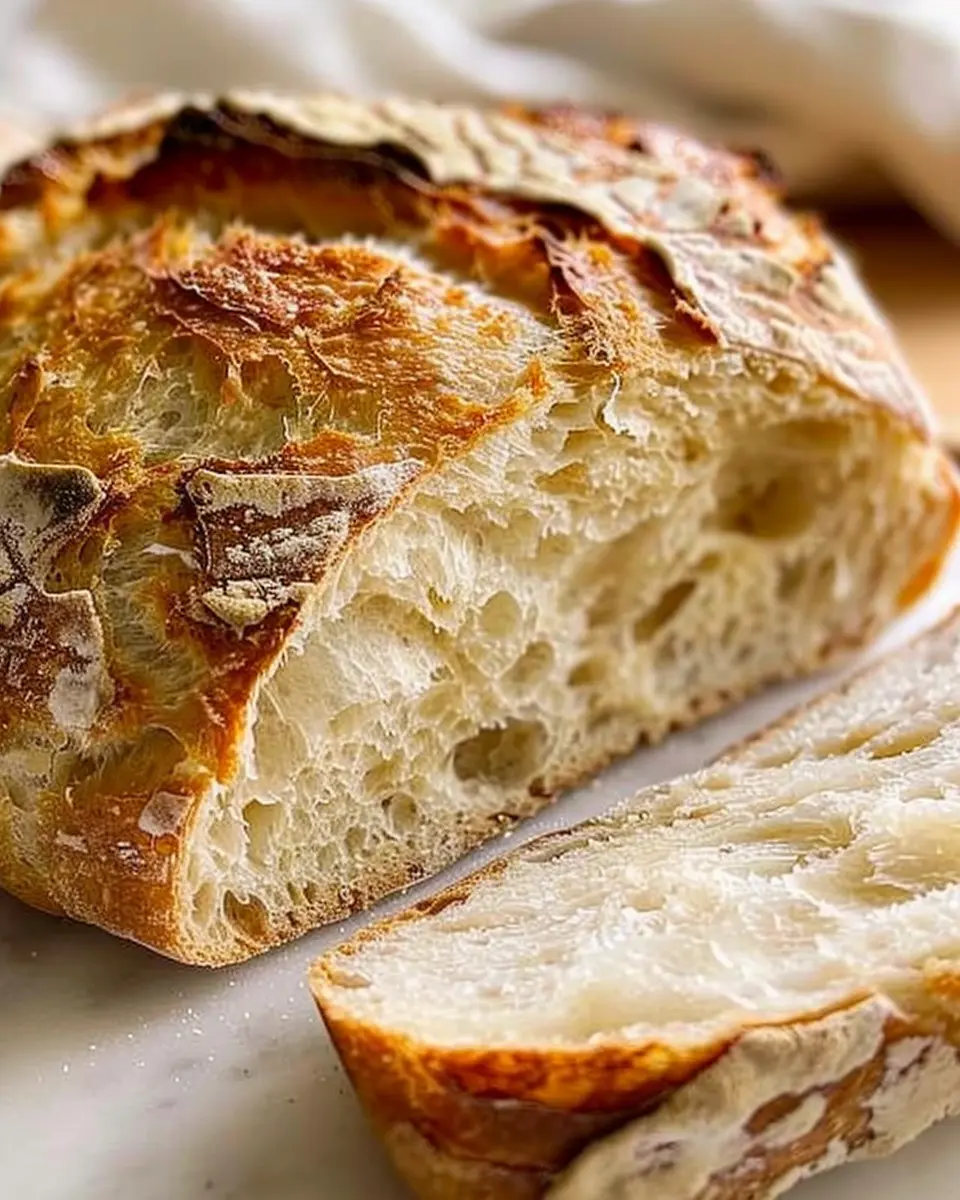
If you’ve been hesitant about baking bread at home, the world’s easiest yeast bread recipe is the perfect starting point. With minimal effort required, you can impress your friends and family with a stunning artisan-style loaf that boasts a crunchy crust and a soft, flavorful interior. There’s something special about the aroma of freshly baked bread wafting through your kitchen, don’t you think?
Imagine slicing into that warm, crusty loaf to reveal its fluffy center, perhaps paired with some creamy butter or even a delicious spread. Besides, investing just a few hours will yield an amazing result, giving you a sense of accomplishment. So why wait? Grab your ingredients and bake this delightful bread today! For further inspiration, check out King Arthur Baking, known for their wealth of baking resources and insights.
PrintWorld’s Easiest Yeast Bread Recipe – Artisan, No Knead Delight
Discover the secrets to making the world’s easiest yeast bread. This artisan, no knead recipe produces a crusty and delightful loaf with minimal effort.
- Prep Time: 15 minutes
- Cook Time: 45 minutes
- Total Time: 13 hours
- Yield: 1 loaf
- Category: Bread
- Method: Baking
- Cuisine: American
- Diet: Vegetarian
Ingredients
- 3 cups all-purpose flour
- 1 ½ teaspoons salt
- ½ teaspoon instant yeast
- 1 ½ cups warm water (about 110°F)
Instructions
- In a large mixing bowl, combine flour, salt, and instant yeast.
- Add warm water and stir until a shaggy dough forms.
- Cover the bowl with plastic wrap and let it rise at room temperature for 12 to 18 hours.
- After the dough has risen, preheat your oven to 450°F and place a Dutch oven inside to heat.
- Lightly flour your work surface and turn the dough out, gently folding it over itself a few times.
- Transfer the dough to a piece of parchment paper and carefully lower it into the hot Dutch oven.
- Cover with the lid and bake for 30 minutes, then remove the lid and bake for an additional 15 minutes for a golden crust.
- Remove from the oven, let cool before slicing, and enjoy!
Notes
- For added flavor, consider adding herbs or garlic to the dough.
- You can also experiment with different types of flour for variety.
Nutrition
- Serving Size: 1 slice
- Calories: 150
- Sugar: 0 g
- Sodium: 360 mg
- Fat: 0.5 g
- Saturated Fat: 0 g
- Unsaturated Fat: 0.5 g
- Trans Fat: 0 g
- Carbohydrates: 31 g
- Fiber: 1 g
- Protein: 4 g
- Cholesterol: 0 mg