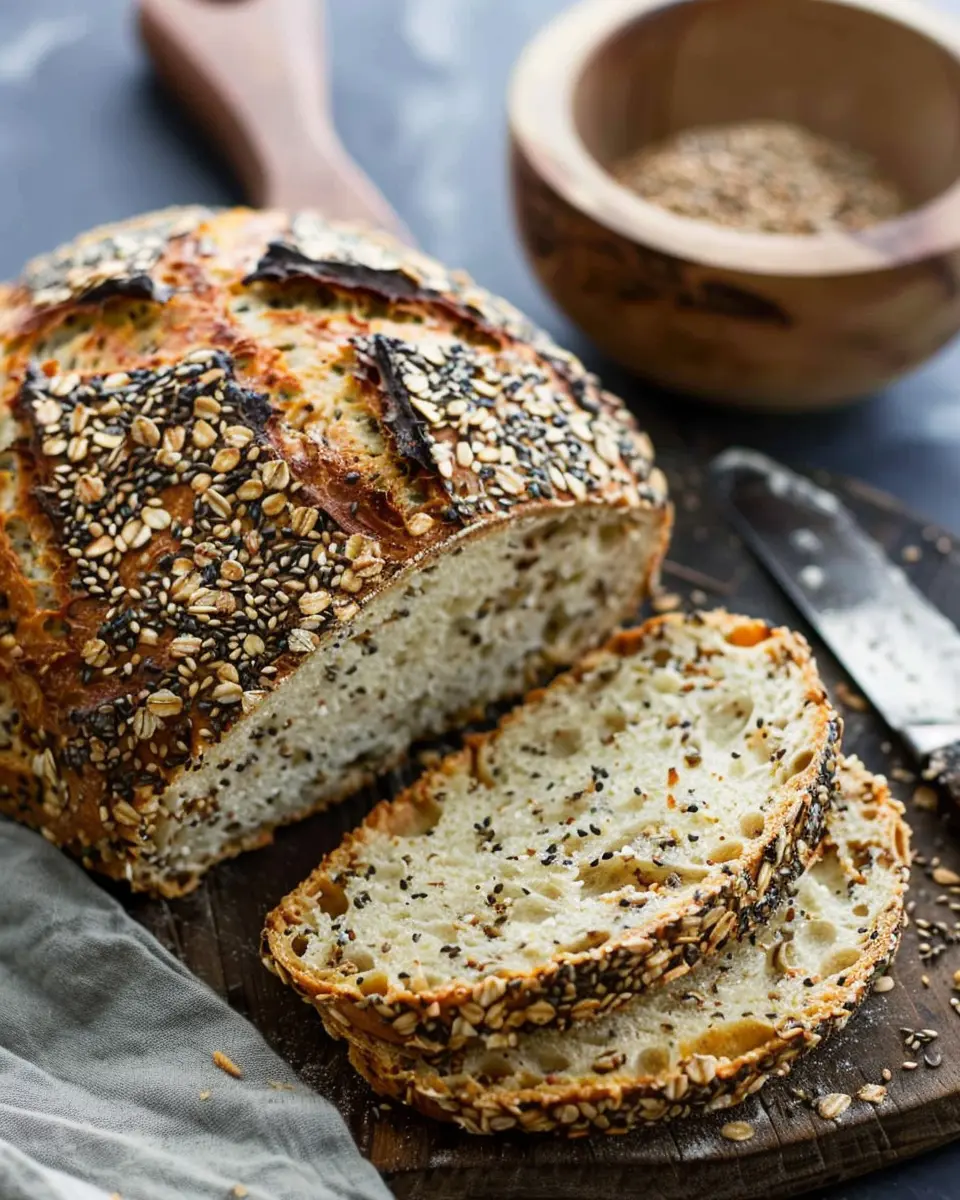
Introduction to No Knead Rustic Seed Bread
Have you ever thought about the difference between homemade bread and what you find at the store? While store-bought options can be convenient, nothing beats the satisfaction of a freshly baked loaf right from your kitchen. But why should you choose homemade bread over the ready-made alternatives?
Why Choose Homemade Bread?
-
Quality Ingredients: When you make your own bread, you have complete control over the ingredients. You can use organic flour, fresh seeds, and even experiment with unique grains—something many commercial breads lack.
-
Flavor and Freshness: There’s a richness in flavor that comes from baking your own bread. The taste and aroma of a loaf freshly pulled from the oven are unparalleled, as you’ll experience in this no knead rustic seed bread recipe.
-
Simplicity: If you’ve ever been intimidated by the thought of bread-making, fret not! This no-knead technique takes away the laborious kneading and allows you to enjoy the art of baking without the hassle. Simply mix, let it rise, and bake!
-
Customization: Want to add some sunflower seeds or swap out for pumpkin seeds? With homemade bread, the choice is yours. You can craft a loaf that speaks to your personal tastes.
-
Health Benefits: Making bread at home often means you can avoid artificial preservatives and additives found in many commercial products. In fact, according to a study by the Whole Grains Council, most store-bought bread contains additives to enhance shelf life—which can affect your health over time.
Imagine the joy of slicing into your own no knead rustic seed bread, spreading a little butter or your favorite nut butter on top—there’s just something so fulfilling about that. Plus, you inspire yourself to be creative in the kitchen!
If you’re eager to delve deeper into bread-making, check out resources like King Arthur Baking or The Bread Lab for tips and ideas.
Are you ready to roll up your sleeves? Let’s explore the delightful journey of baking your own rustic seed bread!
Ingredients for No Knead Rustic Seed Bread
Essential ingredients for a perfect loaf
When it comes to baking the ultimate no knead rustic seed bread, the ingredients you choose play a crucial role in the final outcome. Here’s what you’ll need:
- Flour: Opt for high-quality bread flour for better gluten development. Consider adding whole wheat flour for extra flavor and nutrition.
- Water: Use warm water to activate the yeast effectively. Avoid chlorinated water, which can inhibit yeast growth.
- Yeast: Instant yeast works wonders here, as it doesn’t require proofing, simplifying your bread-making process.
- Salt: Essential for flavor and controlling yeast activity; don’t skip this important ingredient.
- Seeds: A mix of sunflower, pumpkin, and flax seeds not only adds crunch but also boosts nutritional value.
- Optional add-ins: Feel free to experiment with herbs or spices like rosemary or garlic for a unique twist.
Choosing the right ingredients is as important as the method. Curious about how each translates to flavor? Explore more on baking science to deepen your bread-making knowledge!
Preparing No Knead Rustic Seed Bread
If you’ve ever been intimidated by the thought of making bread from scratch, I’m here to ease that anxiety. No knead rustic seed bread is not just easy to make, but it’s also a delightful way to fill your kitchen with warm, inviting aromas. Trust me, once you taste this homemade bread, you’ll want to bake it on repeat!
Mix the Dry Ingredients
Let’s kick things off by gathering our essentials. You’ll need:
- 3 cups all-purpose flour (or whole wheat for a heartier version)
- 1 teaspoon salt
- 1 teaspoon instant yeast
- 1 cup mixed seeds (think sesame, sunflower, and pumpkin for extra crunch)
In a large mixing bowl, combine the dry ingredients. The key here is to mix them thoroughly, ensuring even distribution of the yeast and salt. Did you know? The yeast is what makes your bread rise, so every bit counts! If you’re curious about the nutritional benefits of seeds, check out this resource from Harvard Health.
Combine with Warm Water
Now, it’s time to incorporate wet ingredients! Gently warm up 1 and 1/2 cups of water until it feels comfortably warm to the touch (think baby bath temperature). Pour the warm water into the bowl with dry ingredients, then stir with a wooden spoon or spatula until you achieve a shaggy, wet dough. No heavy lifting or mixing required—this is where the magic of no knead rustic seed bread shines.
First Proofing Process
Once your dough is well mixed, cover the bowl with plastic wrap or a clean towel. Set it aside in a warm spot for about 12 to 18 hours. Yes, it’s a long wait, but feel free to binge your favorite show or get a good night’s sleep. Your patience will be rewarded! During this time, the yeast works its wonders, bubbling and creating that delicious flavor and texture we all love in homemade bread.
Shaping the Dough
After its beauty sleep, the dough will have doubled in size and will be dotted with air bubbles. Dust a clean work surface with a little flour and gently turn the dough out. Be careful not to deflate it too much! Use floured hands to shape it into a round loaf. This doesn’t have to be perfect—remember, it’s rustic. If you’re feeling adventurous, sprinkle a touch of extra seeds on top as you shape it.
Second Proofing and Preparing the Dutch Oven
Now, transfer your shaped dough onto a floured piece of parchment paper, and cover it again with a towel for another 1 to 2 hours. Meanwhile, preheat your oven to 450°F (232°C) with your Dutch oven inside. This heating process helps create Steam, which achieves that lovely crust we all adore in our bread.
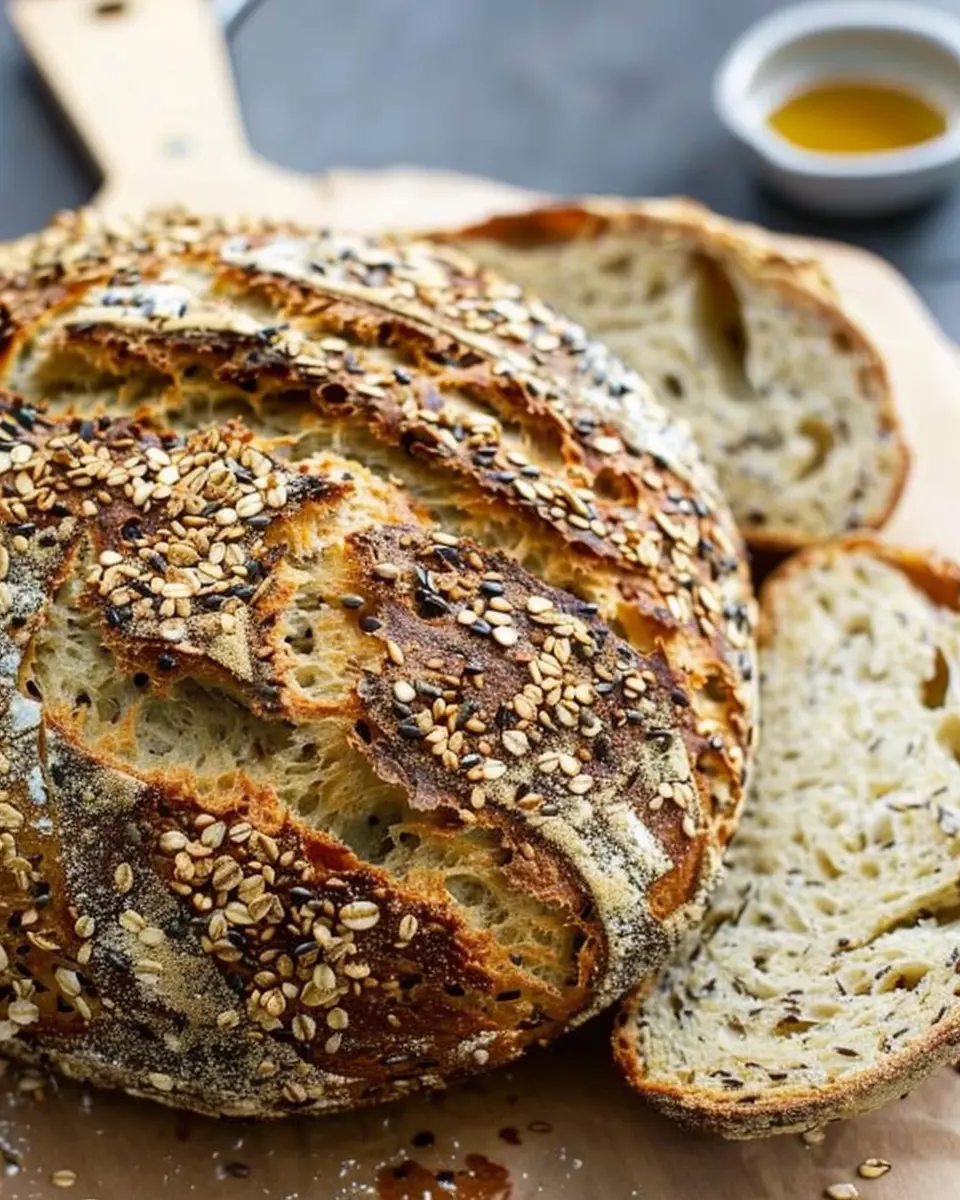
Baking the Bread to Perfection
Once the dough has puffed up beautifully, carefully remove the hot Dutch oven. Lift the parchment paper with the dough and gently place it inside. Cover with the lid and bake for 30 minutes. After that, remove the lid and bake for another 15 to 20 minutes until the bread is golden brown. Pro tip: Listen for that hollow sound when you tap the underside of the loaf. That’s your cue that it’s done!
Let your freshly baked no knead rustic seed bread cool on a wire rack before slicing. Once you take that first bite, you’ll be hooked—trust me! Whether you enjoy it on its own, slathered with butter, or as a base for your favorite deli meats, this bread is sure to impress.
Ready to share your creation? Tag your bread-making experience on social media, and let’s inspire others to join the baking revolution! Happy baking!
Variations on No Knead Rustic Seed Bread
Gluten-Free Seed Bread Variation
If you’re avoiding gluten but don’t want to miss out on the delightful textures and flavors of no knead rustic seed bread, you’re in luck! Substitute traditional all-purpose flour with a gluten-free blend. Look for certified gluten-free flour options that include a mix of rice flour, almond flour, or oats. Remember to adjust the liquid slightly as gluten-free flours often absorb moisture differently. An extra tablespoon or two of water might be necessary. You can also experiment with different seeds, like flaxseeds, pumpkin seeds, or even sunflower seeds for added crunch and nutrition. For more ideas on gluten-free baking, check out resources from Gluten-Free Living.
Adding Herbs or Spices for Flavor
Looking to elevate your no knead rustic seed bread? Consider infusing it with herbs or spices! A sprinkle of rosemary, thyme, or even fresh basil can transform the flavor profile. Alternatively, delve into spices like cumin or smoked paprika for a subtle kick. Just remember, the key to balancing flavors is to start small — a teaspoon of dried herbs typically stands out nicely. Feel free to get creative; for a Mediterranean twist, add some sun-dried tomatoes and olives! Personalize your loaf based on your palate or the season, thus ensuring every bite tells a story.
With these variations, you’re not just making bread; you’re crafting your culinary masterpiece. What will you try first?
Cooking Tips and Notes for No Knead Rustic Seed Bread
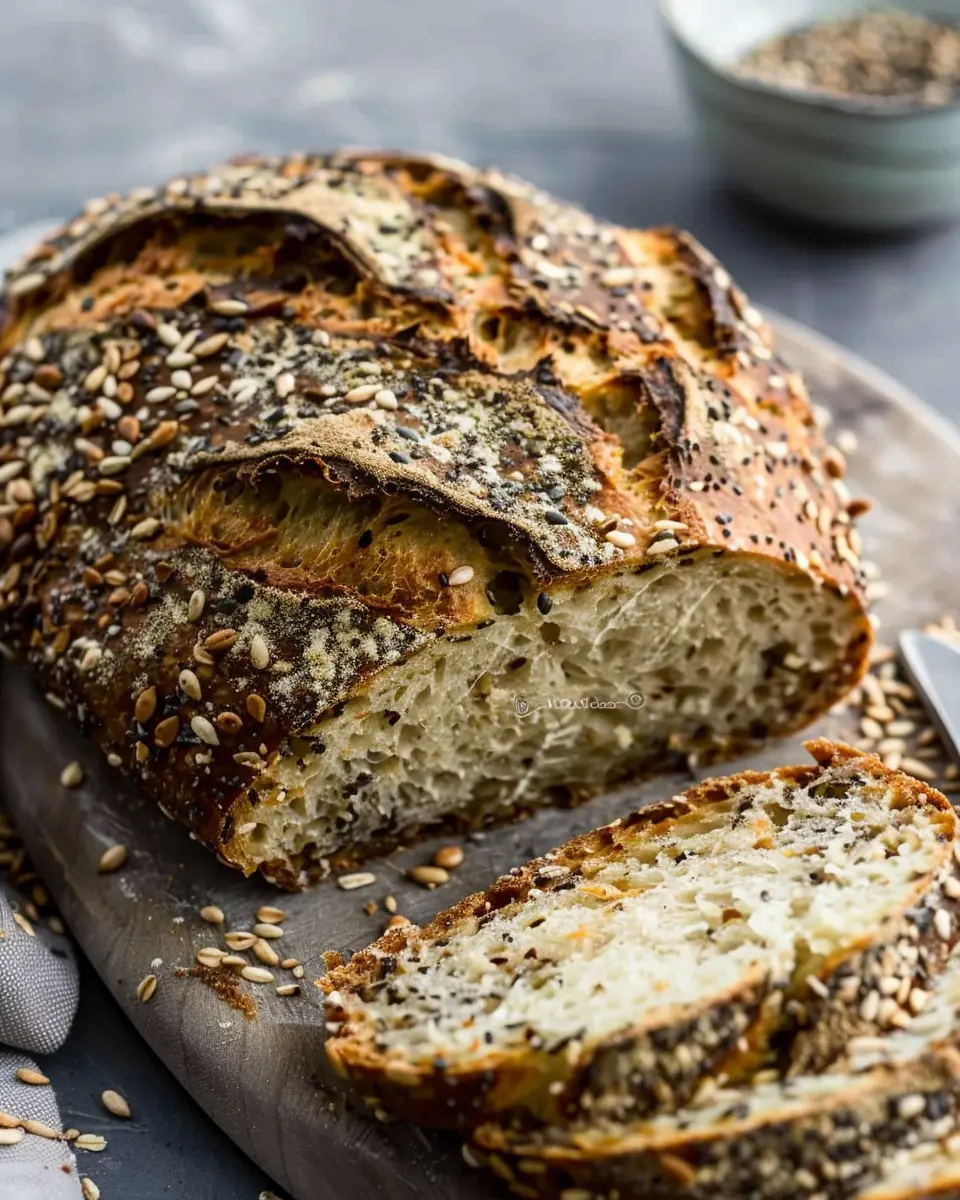
Key Tips for Achieving the Best Crust
To master the no knead rustic seed bread, focus on a few essential steps to get that crispy crust everyone loves:
- Use a Dutch oven: Baking your bread in a preheated Dutch oven traps steam, creating that perfect, golden-brown crust.
- Temperature control: Start with a high initial temperature (around 450°F) before reducing it to enhance crust development.
- Let it rest: Don’t rush your bread! Allow your dough to rise adequately (about 12-18 hours) for flavor and texture to fully develop.
Common Pitfalls and How to Avoid Them
Every baker faces challenges, but you can dodge some common mistakes making your no knead rustic seed bread:
- Over-mixing: Stir your ingredients gently to keep the dough airy and light.
- Under-hydrating: Ensure the dough is wet enough; a drier dough leads to dense bread. If it feels too tough, add a bit more water.
- Neglecting patience: Allow the dough to rest and rise. Rushing this step can prevent those delightful air pockets from forming.
For more insights, you might want to check out resources like King Arthur Baking for expert baking tips. Happy baking!
Serving suggestions for No Knead Rustic Seed Bread
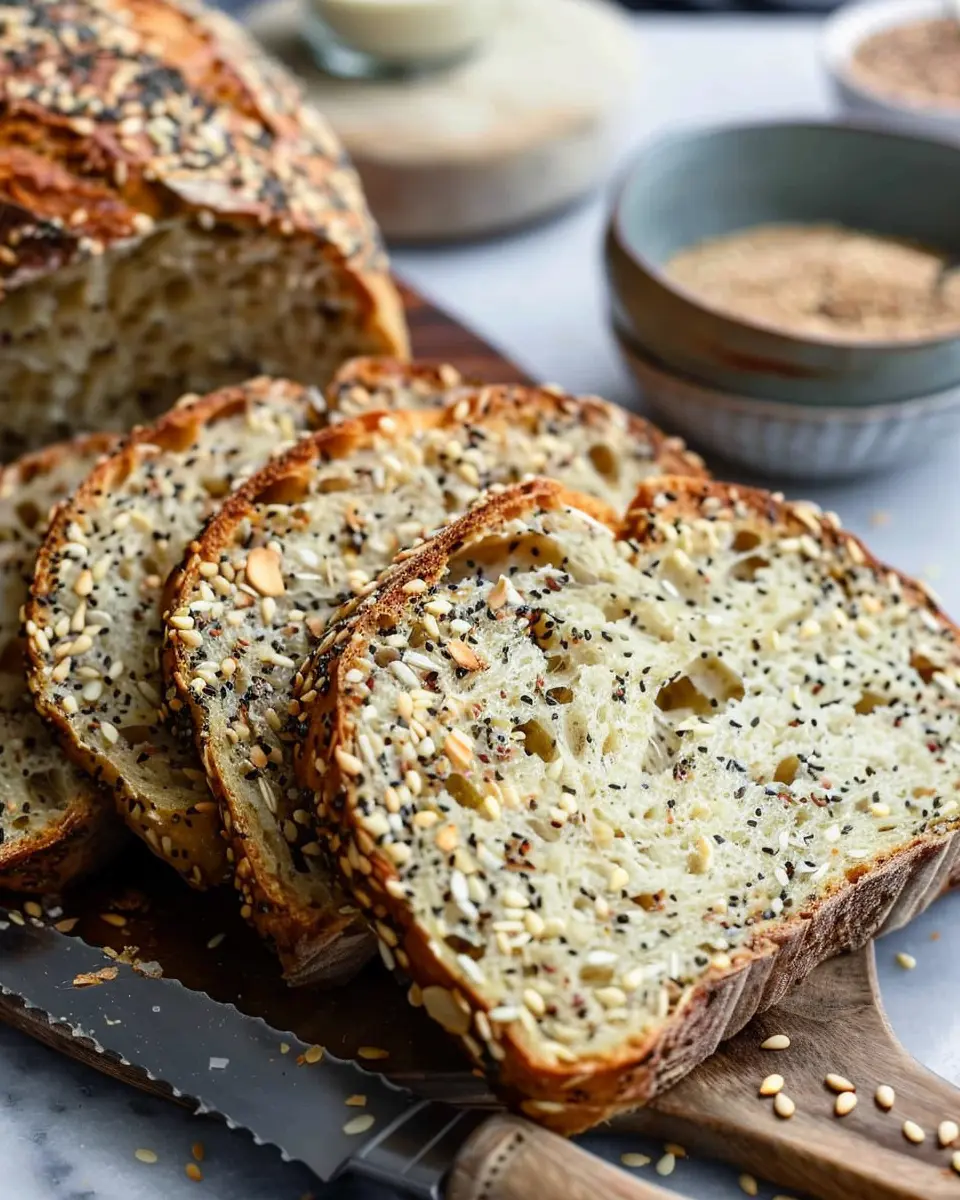
Tasty spreads and toppings to pair with your bread
Enjoying your no knead rustic seed bread straight out of the oven is an experience in itself, but why not elevate it even further? Consider spreading:
- Creamy Avocado: Mash it with a pinch of salt and lime juice for a smooth, nutritious topping.
- Herbed Goat Cheese: Mix goat cheese with fresh herbs for a sophisticated spread that complements the bread’s seeds beautifully.
- Honey and Ricotta: For a sweet twist, spread ricotta cheese and drizzle honey on top. It’s a delightful contrast!
These options not only enhance the flavor but also add a variety of textures that make every bite a pleasure.
Creative uses for leftover bread
Leftover no knead rustic seed bread? No problem! Consider these clever ideas:
- Bread Crumbs: Toast and pulse your leftover bread into breadcrumbs for use in recipes like meatballs or as a topping for casseroles.
- Panzanella Salad: Cube the bread, toss it with ripe tomatoes, fresh basil, and a splash of olive oil for a rustic summer salad.
- French Toast: Use slices to whip up a hearty breakfast, perfect for a lazy weekend brunch.
Remember, every slice can become part of another delicious dish! For more creative bread recipes, check out this guide, where you’ll find culinary inspiration to keep your kitchen lively.
Time breakdown for No Knead Rustic Seed Bread
Preparation time
Creating your no knead rustic seed bread starts with an easy prep session, taking about 15 minutes. Gather ingredients like flour, seeds, yeast, and salt—it’s as simple as that.
Proofing time
Next comes the magic of proofing! Allow the dough to rest for 12 to 18 hours at room temperature. This slow fermentation process builds flavor and creates that lovely texture you crave.
Baking time
When it’s time to bake, set aside 30 to 40 minutes. Preheat your oven, place the dough in your preferred baking vessel, and let it become the golden brown beauty you envisioned!
Total time
Consider this a cozy, leisurely project—your no knead rustic seed bread adventure will span anywhere from 12 to 19 hours. While it may take a bit of time, the process is largely hands-off, so you can enjoy life while you wait! If you’re keen to expand your baking repertoire, check out this bread baking guide for some fantastic tips.
Nutritional facts for No Knead Rustic Seed Bread
When crafting the perfect loaf of no knead rustic seed bread, it’s essential to know what you’re getting in terms of nutrition. Each serving of this hearty bread typically contains:
Calories per serving
A slice of this no knead rustic seed bread usually contains around 100-120 calories, making it a satisfying yet manageable option for your daily diet.
Protein content
With seeds packed in every slice, you’ll get about 4-6 grams of protein per serving. This offers a decent plant-based boost that can complement your meals beautifully.
Fiber and healthy fats
The combination of whole grains and seeds delivers 2-4 grams of fiber per slice, which aids digestion and keeps you feeling full longer. Moreover, the healthy fats from seeds contribute to heart health and overall well-being—think of it as a nutritious treat!
Want to dive deeper into the benefits of whole grains and seeds? Check out the Whole Grains Council for more insights. Happy baking!
FAQs about No Knead Rustic Seed Bread
Can I use other types of flour?
Absolutely! While the lovely no knead rustic seed bread recipe shines with all-purpose or bread flour, experimenting with alternatives can yield delicious results. Whole wheat flour adds a nutty flavor and more fiber, while spelt flour offers a unique taste and nutrition profile. Just remember to adjust the hydration slightly, as different flours absorb water differently. For a refreshing twist, try adding in some rye flour! Explore different combinations to discover your favorite blend.
How do I store my homemade bread?
Storing your homemade bread properly ensures that it stays fresh and tasty. Wrap the no knead rustic seed bread in a clean kitchen towel to allow it to breathe, or place it in a paper bag. For longer-term storage, consider slicing it and freezing individual pieces in a zip-top bag. When you’re ready to enjoy, simply toast or reheat the slices in the oven. This method retains that lovely rustic texture and flavor, making it just as delightful as the day it was baked.
What adjustments are needed for high altitude baking?
Baking at high altitudes can be a bit tricky, as the lower air pressure can affect your dough’s rise and baking time. Here are a few adjustments to consider for your no knead rustic seed bread:
- Decrease the yeast: Try reducing the amount by about 25% to prevent over-rising.
- Increase water content: Add a couple of tablespoons more water to keep your dough hydrated.
- Baking time: You may need to shorten or adjust baking time to prevent over-baking.
For more detailed tips on high-altitude baking, check out resources like the King Arthur Baking Company for expert advice.
Conclusion on No Knead Rustic Seed Bread
Final thoughts and encouragement to bake
Baking no knead rustic seed bread is not just about creating a delicious loaf; it’s a delightful experience that anyone can enjoy. With minimal effort and only a handful of ingredients, you’ll find that your kitchen will soon fill with the inviting aroma of freshly baked bread. The beauty of this recipe lies in its simplicity, making it perfect for both seasoned bakers and novices alike.
Don’t hesitate to experiment with different seeds or even add some herbs to personalize your loaf! I encourage you to give it a try—your friends and family will appreciate the effort, and who knows, it might just become a staple in your home. For more tips on baking bread, check out resources from the Bread Baker’s Guild or explore videos from YouTube’s baking community. Happy baking!
PrintNo Knead Rustic Seed Bread: Best Homemade Delight for Your Table
No Knead Rustic Seed Bread is an easy to make bread that’s perfect for any occasion. This recipe combines a variety of seeds for a deliciously nutty flavor.
- Prep Time: 15 minutes
- Cook Time: 45 minutes
- Total Time: 18 hours
- Yield: 1 loaf
- Category: Bread
- Method: Baking
- Cuisine: American
- Diet: Vegetarian
Ingredients
- 3 cups all-purpose flour
- 1 1/2 cups water
- 1/4 cup mixed seeds (sunflower, flax, sesame)
- 1/2 teaspoon yeast
- 1 teaspoon salt
Instructions
- In a large bowl, combine the flour, salt, and yeast.
- Add the water and seeds, mixing until a shaggy dough forms.
- Cover the bowl with plastic wrap and let it rest for 12-18 hours at room temperature.
- After resting, turn the dough out onto a floured surface and shape it into a ball.
- Place the dough seam-side down on parchment paper and let it rise for another 1-2 hours.
- Preheat the oven to 450°F (230°C) and place a Dutch oven inside to heat.
- Once heated, carefully remove the Dutch oven, lift the parchment with the dough, and place it inside.
- Cover and bake for 30 minutes, then uncover and bake for an additional 15 minutes until golden brown.
- Cool on a wire rack before slicing.
Notes
- For added flavor, you can experiment with different seeds.
- Make sure to let the dough rest for the recommended time for best results.
Nutrition
- Serving Size: 1 slice
- Calories: 150
- Sugar: 0g
- Sodium: 180mg
- Fat: 3g
- Saturated Fat: 0.5g
- Unsaturated Fat: 2g
- Trans Fat: 0g
- Carbohydrates: 27g
- Fiber: 3g
- Protein: 5g
- Cholesterol: 0mg