Introduction to Russian Honey Cake
When it comes to desserts, few can rival the charm and flavor of Russian Honey Cake, or Medovik. This delightful treat is not just a feast for the taste buds; it’s a symbol of warm gatherings and cherished memories in Russian culture. But what really makes this cake a must-try? Let’s dive into the enchanting world of Medovik.
What makes Russian Honey Cake a must-try?
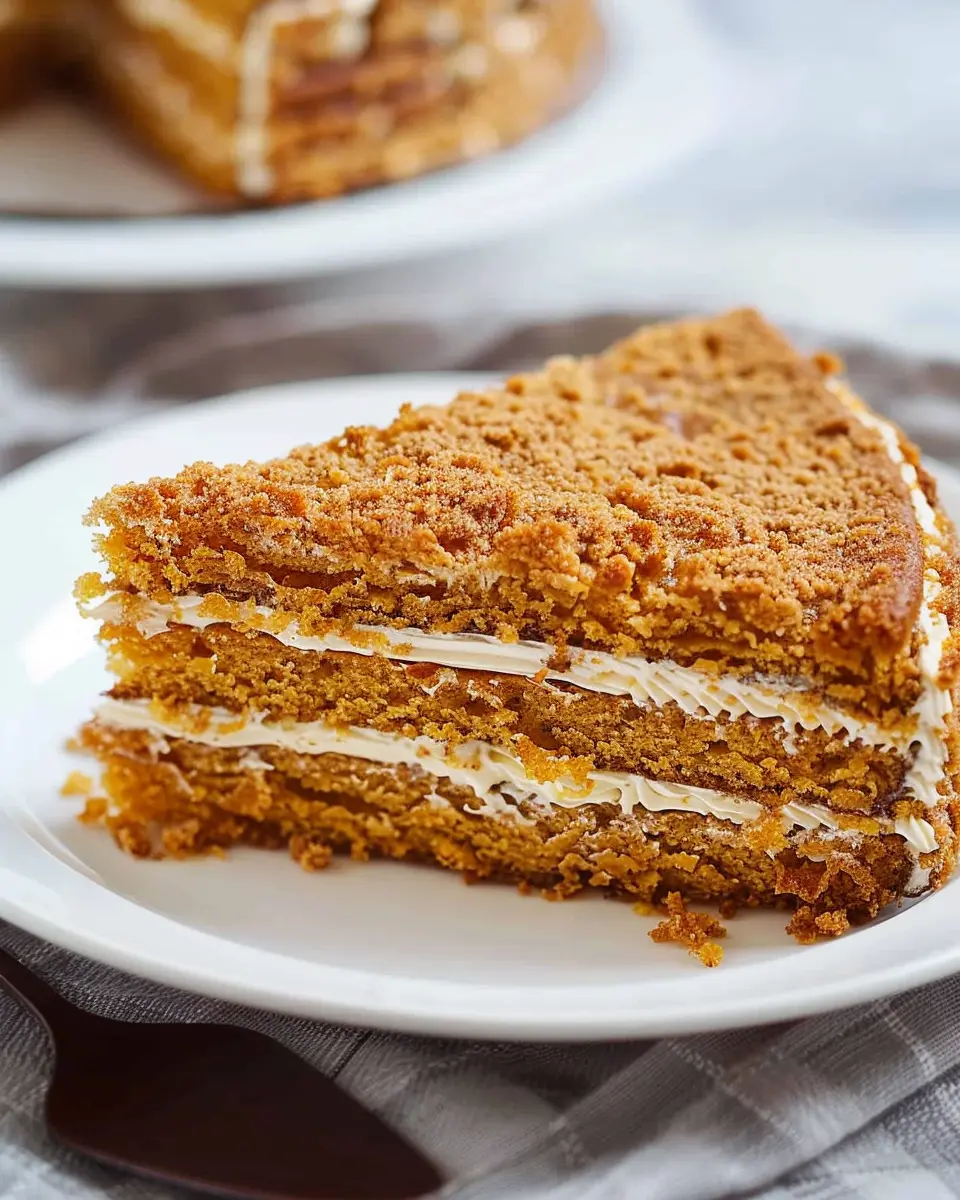
First off, the flavor! The rich layers of honey-infused cake paired with a luscious cream filling create a uniquely sweet and tangy experience that dances on your palate. Every bite is a delightful contrast of textures, with the layered softness melding beautifully with the creamy smoothness of the frosting. If you’re a lover of desserts, this cake deserves a top spot on your list.
Moreover, making Russian Honey Cake can be a fantastic way to connect with friends and family. The process is often shared among loved ones, turning baking into a memorable event. Imagine gathering with your friends, each taking turns mixing, spreading, and layering the cake. It’s not just about the end product, but the shared experience and laughter along the way.
Another comforting aspect is its versatility. With a few adjustments, this cake can cater to various dietary preferences. Interested in a gluten-free option? Substituting regular flour with almond flour can yield satisfying results. Looking for something a bit lighter? You can cut down on sugar or opt for Greek yogurt in the cream filling for a tangier twist.
For those curious about the historical roots of this cake, its origins date back to the days of the Russian Empire. The blend of honey and cream symbolizes a bounty of life, making it a popular choice for celebrations and special occasions. If you want to learn more about its fascinating history, check out TasteAtlas for a deep dive into traditional recipes.
In essence, Russian Honey Cake isn’t just a dessert. It’s an invitation to create moments, savor flavors, and dive into a beautiful culinary tradition. So grab your apron and let’s get ready to create something truly special!
Ingredients for Russian Honey Cake
Essential ingredients for the cake layers
Creating a delicious Russian Honey Cake (Medovik) starts with the right base. For the layers, you’ll need:
- Flour: All-purpose flour works beautifully to give structure.
- Honey: A good quality honey is essential for that signature flavor.
- Butter: Use unsalted butter for rich depth.
- Sugar: Granulated sugar adds sweetness to balance the layers.
- Eggs: Two large eggs will provide moisture and richness.
- Baking soda: This helps the layers rise beautifully.
To ensure you get the best flavors, consider using local honey. It can significantly enhance the cake’s depth and complexity.
Key ingredients for the cream filling
As important as the layers are, the cream filling takes your Russian Honey Cake to the next level. The star ingredients here include:
- Sour cream: Provides tang and creaminess.
- Confectioners’ sugar: For sweetness and stability.
- Vanilla extract: Adds a lovely aromatic note to the cream.
- Cream cheese: Adds a rich texture that pairs perfectly with the honey layers.
For a fun twist, you could add nuts or dried fruit to the filling. This gives your Medovik a unique flair and extra crunch! If you’re interested in variations, check out this {high-authority source for ingredient tips}. Happy baking!
Step-by-Step Preparation of Russian Honey Cake
Creating Russian Honey Cake or Medovik is an experience that blends delightful flavors with the charm of making something special from scratch. This cake has a rich, honey-infused flavor that embodies the essence of homemade desserts. Let’s dive into the steps that will guide you in preparing this iconic treat in a fun and friendly manner.
Prepare the cake layers
The foundation of your Russian Honey Cake is its layers. Start by gathering the following ingredients for the cake:
- 1 cup of honey
- 1 cup of granulated sugar
- 1 cup of butter
- 1 large egg
In a medium saucepan, combine the honey, sugar, and butter. Heat gently over low heat until everything has melted and blended into a smooth mixture. Once combined, let it cool slightly before adding the egg. It’s crucial to ensure the mixture isn’t too hot; otherwise, you might accidentally scramble the egg!
Add the baking soda and flour
Now comes the magic moment when your dough starts to take shape! Stir in:
- 1 teaspoon of baking soda
This will give your cake the right amount of lift as it bakes. Then, gradually add approximately 3–4 cups of all-purpose flour. Mix until the dough is soft but not sticky. At this stage, it’s okay to use your hands to bring everything together. While adding flour, remember that the right consistency might vary slightly based on the humidity in your kitchen. If you want to learn more about how flour affects desserts, you can check out this resource.
Roll and cut the cake layers
With the dough ready, it’s time to roll it out! Divide the dough into 8 equal parts. Roll each piece into a thin circle on a floured surface. If you want perfectly uniform layers, use a round cake pan or a plate as a guide to cut out each layer. Don’t worry if they’re not perfect; the rustic charm is part of the cake’s appeal. Remember to save the scraps! You can crumble them later for decorative purposes.
Make the cream filling
The cream filling is what ties the Russian Honey Cake together. For a luscious filling, you’ll need:
- 2 cups of sour cream
- 1 cup of sugar
- 1 teaspoon of vanilla extract
Whisk these together until you achieve a smooth, creamy texture. If you prefer a lighter filling, consider folding in whipped heavy cream. This will give it an airy quality that balances the denser cake layers beautifully.
Assemble the cake
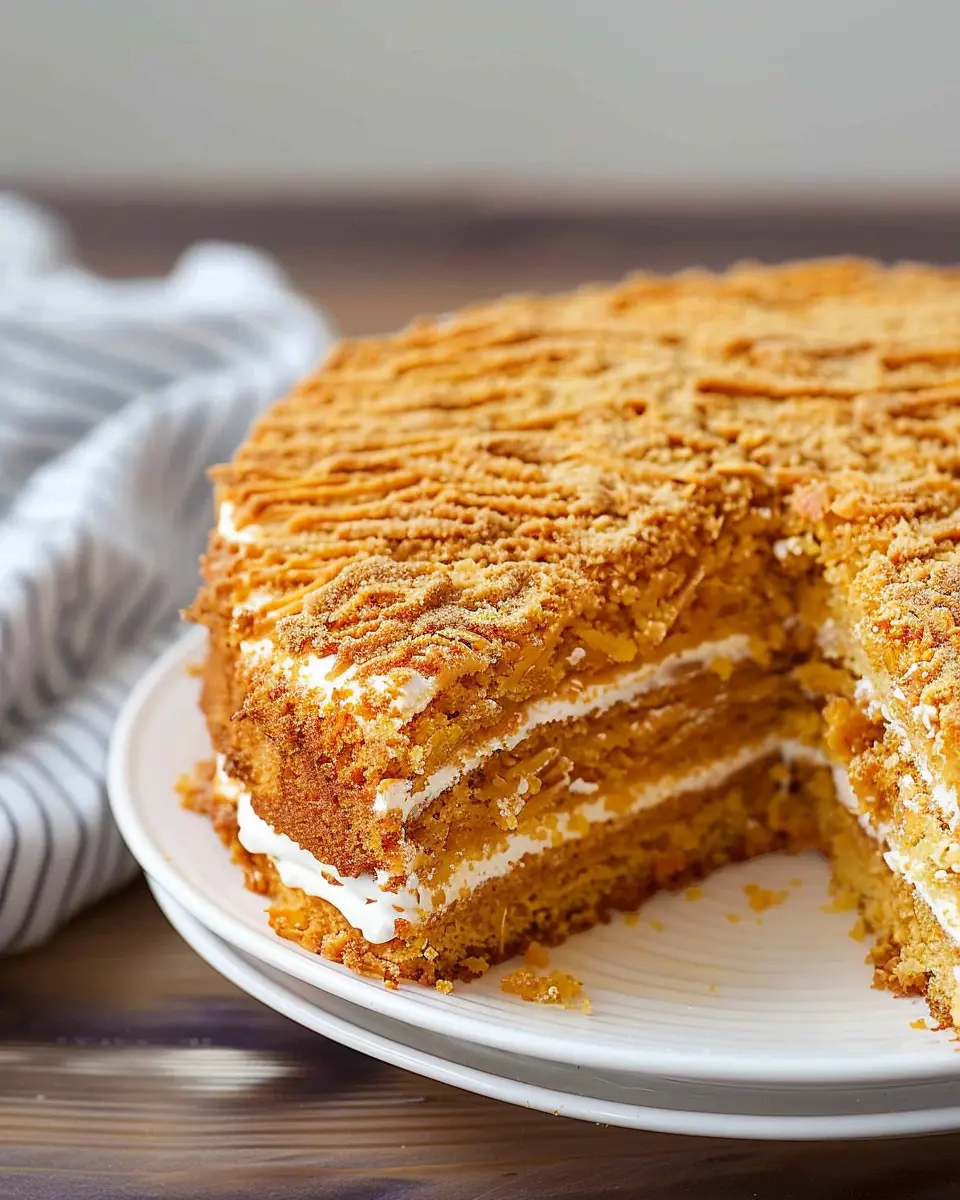
Now for the fun part: assembling your cake! Take the first layer and spread a generous amount of the cream filling on top. Continue stacking the layers, repeating the process until you’ve used all the cake and filling. Don’t forget to cover the sides too! Use those reserved crumbs to coat the outside of the cake. This not only adds flavor but also a rustic look that’s quintessentially Medovik.
Chill and serve
Once you’ve assembled the cake, it’s crucial to let it chill in the refrigerator for at least 4 hours, or preferably overnight. This allows the layers to meld together beautifully, enhancing the flavor and texture. When you’re ready to serve, slice it up and enjoy a piece of this beautiful Russian Honey Cake with friends or family—trust me, they’ll love it!
By following these steps, you’re not just making a cake; you’re creating a cherished experience that takes you back to the heart of Russian culinary tradition. Enjoy the process, and don’t forget to share your finished cake on social media!
Variations on Russian Honey Cake
Classic Medovik Variations
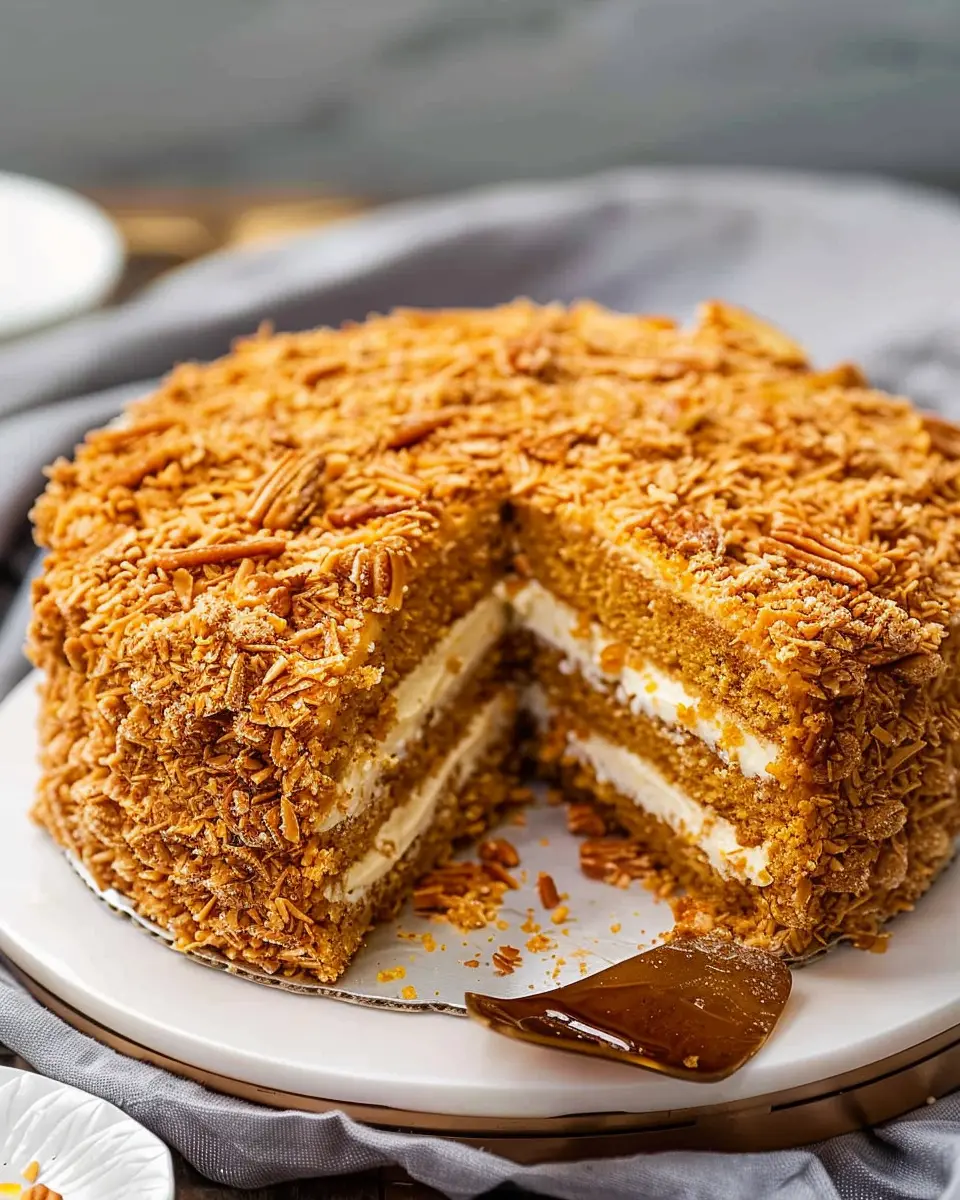
The beloved Russian Honey Cake, or Medovik, is a true masterpiece that you can adapt in various ways to suit your taste. Traditionally, this multilayered dessert features a soft, honey-infused sponge and a creamy filling, usually made with sour cream or condensed milk. However, you can enjoy classic variations that maintain the original charm while playing with flavor profiles.
Consider adding chopped nuts like walnuts or almonds between the layers for an added crunch. You might also swap in a rich, buttery custard for a creamier texture. Another popular twist involves soaking the layers with a coffee or tea infusion, creating a delightful contrast between the honey sweetness and the robust flavors.
Creative Twists on the Original
If you’re feeling adventurous, why not give your Russian Honey Cake a modern makeover? One delicious option is to incorporate seasonal fruits, such as berries or poached pears, between the layers. This adds freshness and an unexpected burst of flavor that pairs beautifully with the cake’s richness.
You can also experiment with spices like cinnamon or cardamom to give your cake a delightful warmth, making it perfect for colder months. For those who love chocolate, why not try a chocolate ganache layer? Its silky richness complements the honey perfectly, making each bite feel indulgent.
Finally, for a unique presentation, consider assembling mini Medovik desserts in jars, making it a fun treat for gatherings. For more ideas on variations, check out these additional resources on flavor pairings and layering techniques here.
No matter how you choose to personalize your Russian Honey Cake, each variation guarantees a sweet treat that can bring people together around the table.
Cooking Tips and Notes for Russian Honey Cake
Secrets for perfect cake layers
Creating the ideal Russian Honey Cake layers can be a delightful challenge. Start by ensuring your butter and eggs are at room temperature; this helps the ingredients blend smoothly for a light texture. When rolling out the dough, make sure to use flour generously to prevent sticking, and consider dividing the dough into smaller portions for easier handling. Bake each layer until it’s just golden brown to keep them tender—overbaking can lead to a dry finish.
How to enhance flavor and texture
To elevate the flavor of your Russian Honey Cake, try adding a touch of vanilla extract to the cream filling. This brings warmth and depth to the dessert. Experiment with spices like cinnamon or even a hint of ground ginger to complement the sweetness of the honey. For an extra layer of texture, consider incorporating crushed nuts like walnuts or hazelnuts into the cream or as a garnish. Additionally, don’t rush the chilling process; letting the cake rest overnight allows the flavors to meld beautifully.
For more tips, check out this guide on cake layering for additional insights!
Serving Suggestions for Russian Honey Cake
Ideal Accompaniments for the Cake
When it comes to serving Russian Honey Cake, also known as Medovik, pairing it with the right accompaniments can elevate your dessert experience. Here are a few delightful options:
- Tea or Herbal Infusions: A warm cup of black tea or a fragrant chamomile tea complements the rich flavors of the cake beautifully. The warmth of the beverage enhances the cake’s sweetness.
- Fresh Berries: Serve slices alongside seasonal fresh berries like raspberries or blueberries. Their tartness cuts through the cake’s richness, offering a refreshing balance.
- Sour Cream or Greek Yogurt: A dollop of sour cream or Greek yogurt adds a creamy, tangy contrast that enhances the cake’s flavors—definitely a crowd-pleaser.
Presentation Ideas for Special Occasions
Impress your friends and family with stunning presentations when serving Russian Honey Cake. Consider these ideas:
- Layered Serving: Showcase the cake in a clear cake stand to highlight its layers. You’ll create a mouth-watering visual that encourages guests to dig in.
- Garnishing: Top the cake with crushed nuts, a sprinkle of powdered sugar, or edible flowers to provide a touch of elegance.
- Mini Portions: For events, cut the cake into bite-sized pieces and serve them on decorative plates. This makes it easy for guests to enjoy while mingling.
By thoughtfully choosing accompaniments and presentation methods, you can transform your Russian Honey Cake into the centerpiece of any gathering. Interested in more presentation tips? Check out resources on party planning or dessert aesthetics for inspiration!
Time Breakdown for Russian Honey Cake
Making a delightful Russian Honey Cake (Medovik) may take some time, but the results are absolutely worth it. Here’s a quick breakdown of how your time will be spent:
Preparation Time
You’ll need about 30 minutes to gather your ingredients and mix the batter. Make sure to measure everything carefully for the best results.
Baking Time
Set aside around 30 minutes for baking the layers. Each cake layer bakes quickly, so stay attentive!
Chilling Time
For the flavors to truly meld, let your cake chill in the refrigerator for at least 4 hours, or even overnight if you can. This is where the magic happens!
Total Time
In total, you’re looking at about 5 to 6 hours, including chilling time. But don’t worry; most of that is hands-off, allowing you to prep other dishes or simply relax.
When you’re ready, check out this honey cake history to learn more about this delectable treat!
Nutritional Facts for Russian Honey Cake
When indulging in a delightful slice of Russian Honey Cake (Medovik), it’s good to know what you’re enjoying! Here are some nutritional facts that can guide your choices:
Calories
A typical serving of Russian Honey Cake contains around 350 calories. Despite the sweetness, this layered treat doesn’t pack as heavy a calorie punch as you might expect!
Sugar Content
The sugar content is about 25 grams per serving. This is primarily from the natural honey and added sugars, giving it that irresistibly sweet flavor.
Fat Content
With approximately 15 grams of fat per serving, this cake includes butter and cream in its sumptuous layers. While there are healthier desserts out there, the blend of fats contributes to the cake’s moist texture.
For more on balancing delicious desserts like this with a healthy lifestyle, check out Nutrition.gov. What’s your favorite way to enjoy Russian Honey Cake?
FAQ about Russian Honey Cake
What is Medovik?
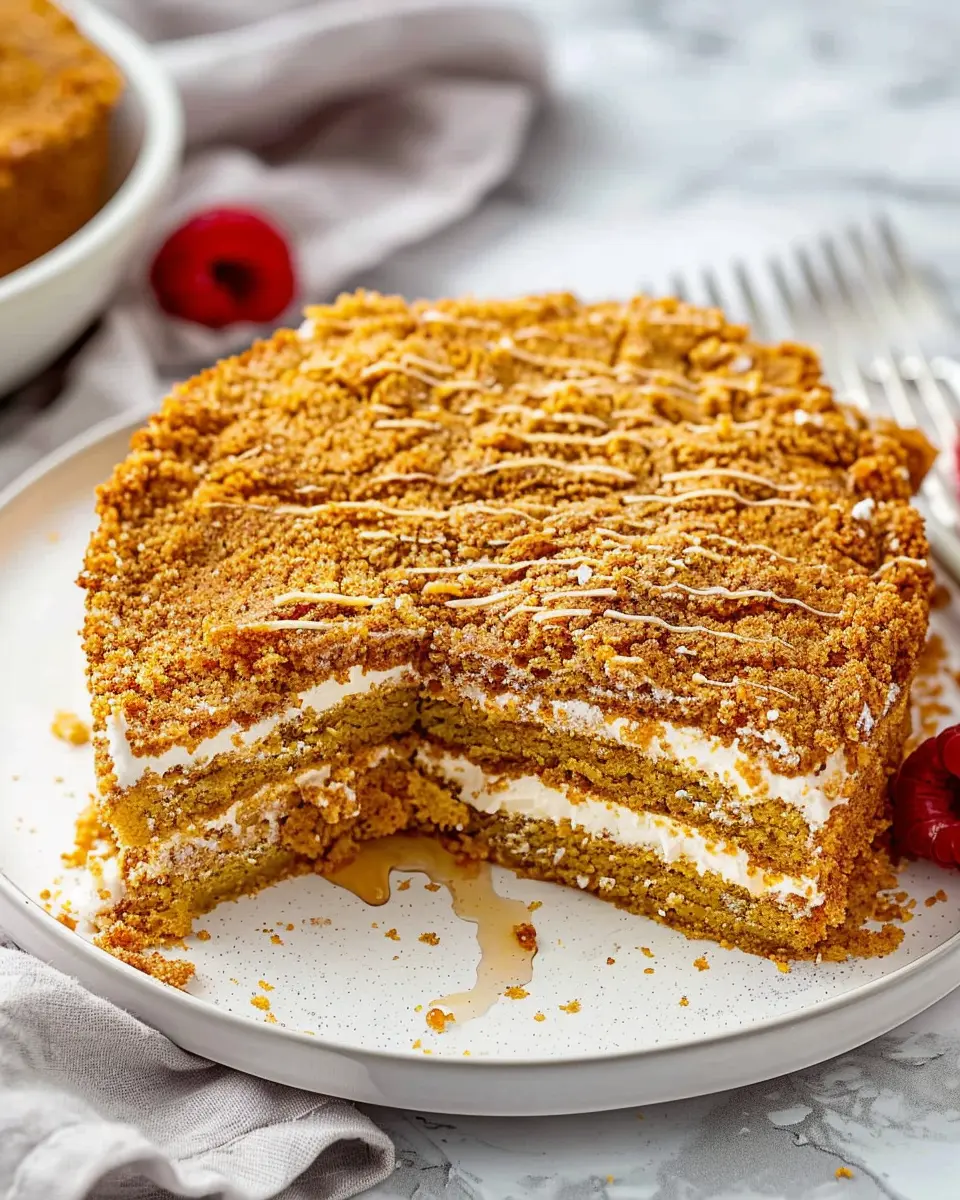
Medovik, also known as Russian Honey Cake, is a delightful dessert cherished for its rich flavors and fluffy texture. Traditionally, this multilayered cake consists of honey-infused sponge layers, often filled with a creamy, caramel-like frosting. The sweetness from the honey complements the tanginess of the sour cream or cream cheese filling, creating a delectable balance. If you’re intrigued by cultural cuisine, learning about Medovik’s origins can be fascinating! You can read more about this cake’s history here.
How long does Russian Honey Cake last?
A well-prepared Russian Honey Cake can typically last about 3 to 5 days when stored properly. It’s essential to keep it in an airtight container in the refrigerator to maintain its moisture and flavor. The cake might even improve in taste after resting for a day or two, as the layers meld together beautifully over time.
Can I freeze Russian Honey Cake?
Absolutely! Freezing your Russian Honey Cake is an excellent way to preserve its deliciousness for later enjoyment. To do this:
- Wrap it Great: Use plastic wrap or aluminum foil to tightly wrap the cake.
- Store it Smart: Place the wrapped cake in an airtight container or freezer bag.
- Thaw Gradually: When you’re ready to indulge, allow the cake to thaw in the refrigerator overnight for the best texture.
By freezing, you won’t have to rush through the cake, and you can savor each slice at your leisure!
For more tips on dessert storage, you can check out this informative guide here.
Conclusion on Russian Honey Cake
Recap of Why Medovik is a Delightful Homemade Treat
In summary, Russian Honey Cake, or Medovik, truly embodies the essence of indulgence. Its layers of rich honey-based cake paired with decadent cream create a delightful contrast in texture and flavor. When you make it at home, you not only infuse your creation with personal touches but also craft lasting memories with friends and family.
Think of the sweet aroma wafting through your kitchen as you bake—it’s the kind of cozy experience that turns an ordinary day into something special. So, why not bring a little bit of Russia into your kitchen? Grab the full Medovik recipe and savor this delightful treat with your loved ones. Trust us, they will thank you!
For more tips on baking delicious cakes, check out resources like the National Honey Board or The Great British Bake Off.
PrintRussian Honey Cake: Easy Steps to Indulge in Medovik Bliss
Delve into the rich flavors of Russian Honey Cake, known as Medovik. This delightful dessert is made with layers of honey-infused cake and creamy filling, perfect for any occasion.
- Prep Time: 30 minutes
- Cook Time: 25 minutes
- Total Time: 55 minutes
- Yield: 8 servings
- Category: Dessert
- Method: Baking
- Cuisine: Russian
- Diet: Vegetarian
Ingredients
- 3 cups all-purpose flour
- 1 cup granulated sugar
- 1 cup honey
- 1 cup sour cream
- 1/2 cup unsalted butter
- 4 large eggs
- 1 teaspoon baking soda
- 1 teaspoon vanilla extract
Instructions
- Preheat the oven to 350°F (175°C).
- In a large mixing bowl, combine honey, sugar, and butter. Beat until creamy.
- Add eggs one at a time, mixing well after each addition.
- In a separate bowl, combine flour and baking soda.
- Gradually add the dry ingredients to the wet mixture, mixing until combined.
- Divide the batter into equal portions and spread them into round cake pans.
- Bake for 20-25 minutes or until a toothpick comes out clean.
- Let the cakes cool completely before frosting.
- For the filling, mix sour cream and vanilla together and layer between the cooled cakes.
Notes
- Tip: Allow the cake to sit in the fridge for a few hours or overnight for the best flavor.
- Variations: You can add nuts or fruit to the layers for added texture.
Nutrition
- Serving Size: 1 slice
- Calories: 350
- Sugar: 20g
- Sodium: 100mg
- Fat: 15g
- Saturated Fat: 8g
- Unsaturated Fat: 5g
- Trans Fat: 0g
- Carbohydrates: 45g
- Fiber: 2g
- Protein: 6g
- Cholesterol: 50mg