Introduction to Blackberry Pavlovas
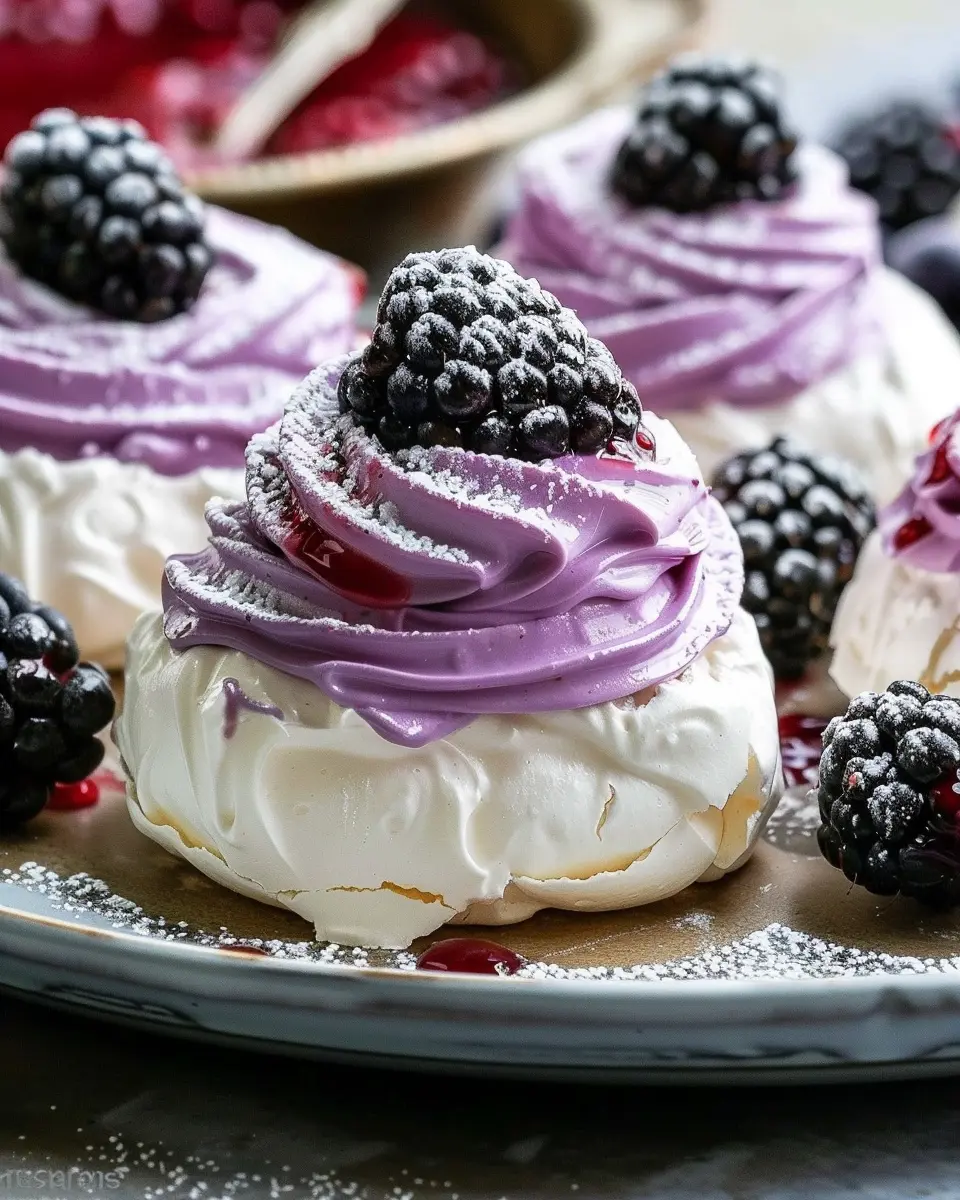
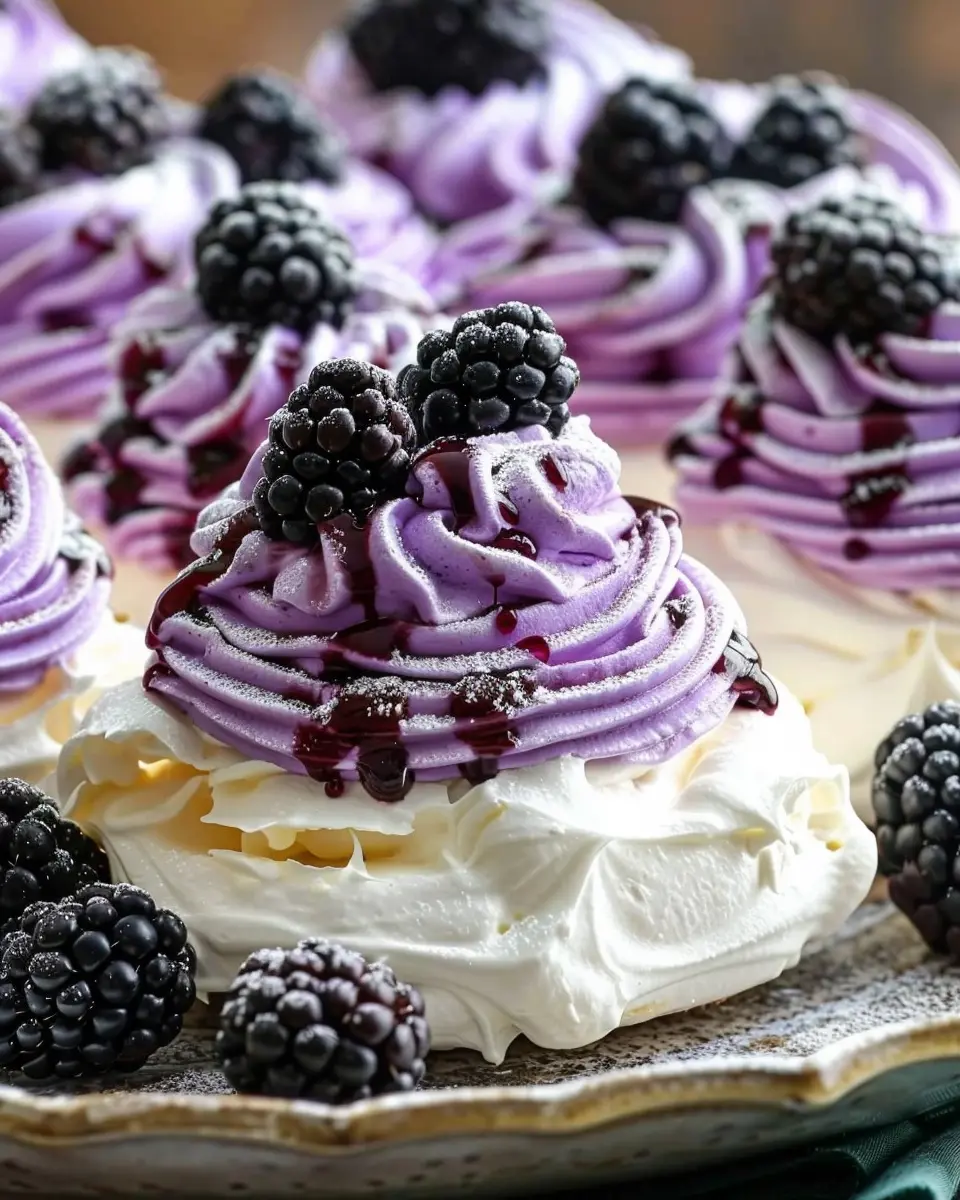
When it comes to elegant desserts, few options rival the delightful charm of a pavlova. Originating from Australia and New Zealand, this meringue-based treat is renowned for its crisp exterior and soft, chewy interior. Picture a light, airy cloud topped with whipped cream and fresh fruits—it’s no wonder that blackberry pavlovas have gained popularity among dessert enthusiasts!
What is a Pavlova and Why You’ll Love It?
A pavlova is a sweet meringue dessert named after the Russian ballerina Anna Pavlova. It embodies a wonderful balance of textures, with its crunchy outer shell contrasting with a soft inside. The beauty of making a pavlova lies in the show-stopping presentation and the endless possibilities for toppings.
You’ll fall in love with blackberry pavlovas for several reasons:
- Light and Airy: The delicate nature of meringue makes it a perfect way to end a meal without feeling heavy.
- Versatile Toppings: While the star of this version is the luscious blackberry, feel free to mix and match with other fruits or even add a sprinkle of nuts for an additional crunch.
- Easy to Make: Contrary to what you might think, making a pavlova is simpler than it appears. With just a handful of ingredients—egg whites, sugar, vinegar, and cornstarch—you can whip up a sophisticated dessert that wows at any gathering.
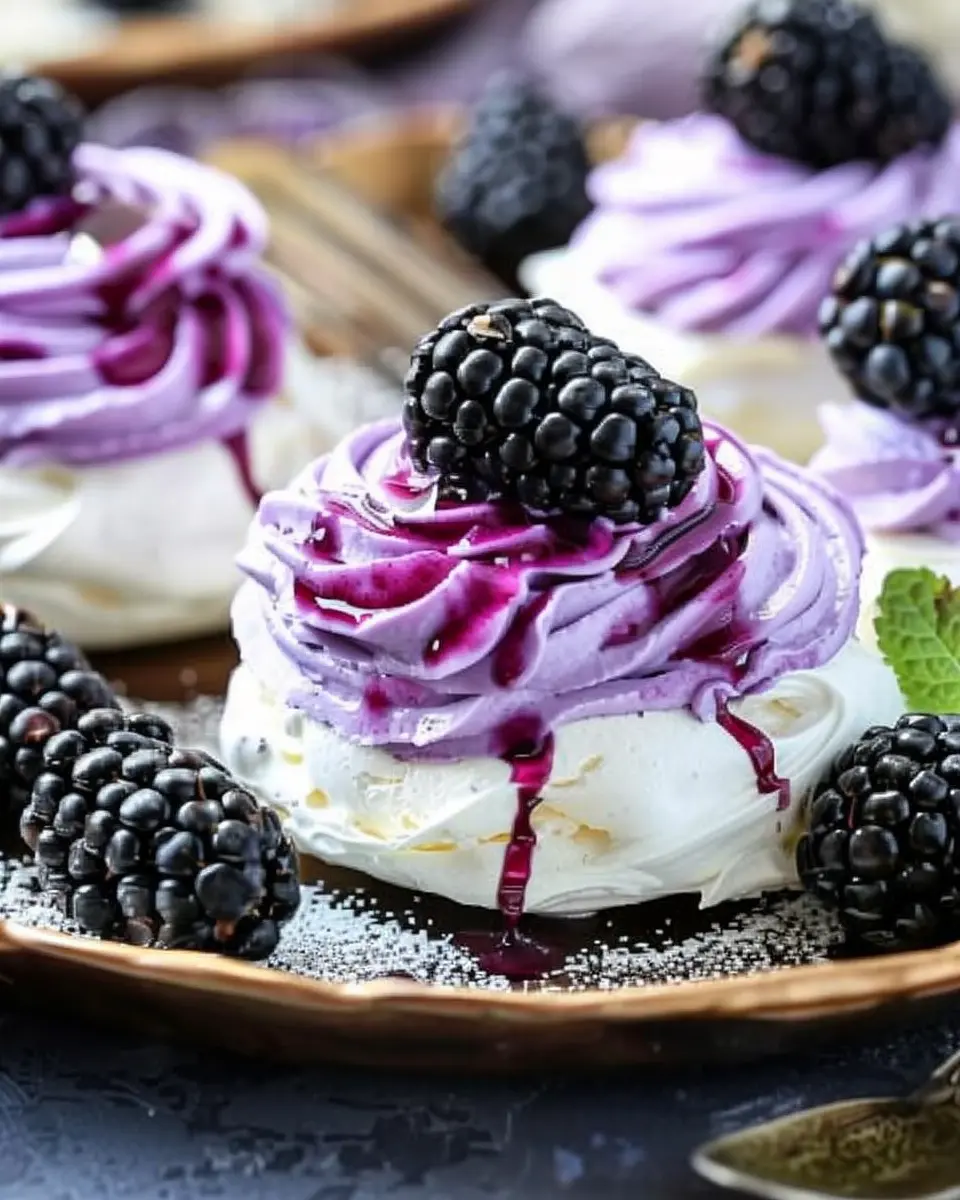
Each bite of a blackberry pavlova is a burst of flavor. The sweetness of the meringue pairs beautifully with the tartness of fresh blackberries, making it a delightful treat for both your taste buds and your Instagram feed. Plus, it’s a dessert that encourages creativity; consider incorporating a drizzle of honey or a sprinkle of edible flowers for a whimsical touch.
If you’re intrigued by the world of pavlovas and wish to explore more about its culinary background, consider checking out reputable sources like Serious Eats or BBC Good Food. These websites offer not only recipes but also insights into the history and variations of this delightful dessert.
Now, let’s dive headfirst into crafting your own delightful blackberry pavlovas! You won’t regret it.
Ingredients for Blackberry Pavlovas
Creating the perfect blackberry pavlovas is all about selecting the right ingredients. Here’s what you’ll need to whip up this delightful dessert!
Essential ingredients for the pavlova
- Egg Whites: Fresh egg whites are crucial for that airy texture. Aim for about 4 to 6 large eggs, depending on how many pavlovas you’re making.
- Granulated Sugar: You’ll need around 1 cup to sweeten and stabilize the meringue.
- Cornstarch: A tablespoon will help give your pavlova that beautiful, soft center.
- White Vinegar: Just a teaspoon adds a lovely touch that enhances the meringue’s texture.
Ingredients for the blackberry jam
To complement your pavlova, you’ll need:
- Blackberries: About 2 cups, fresh or frozen, for that rich flavor.
- Sugar: Roughly ½ cup to balance the tartness of the berries.
- Lemon Juice: A tablespoon to brighten the flavors and add depth.
Whipped cream components
To elevate your blackberry pavlovas, don’t forget the whipped cream:
- Heavy Cream: About 1 cup, for that luscious creaminess.
- Powdered Sugar: A tablespoon to sweeten the cream without the graininess.
- Vanilla Extract: A splash (around 1 teaspoon) for that irresistible flavor.
Gathering these ingredients ensures you will create an unforgettable dessert that your friends and family will love. For further tips on making the perfect meringue, check out this expert guide. Enjoy showcasing your culinary skills with these delightful blackberry pavlovas!
Step-by-Step Preparation of Blackberry Pavlovas
Creating the perfect blackberry pavlovas is not just about the dessert; it’s about an experience—from the sweet aroma wafting through your kitchen to that first delightful bite. Let’s break it down step by step!
Prepping the oven and baking sheets
Before diving into the fun part, it’s crucial to prepare your kitchen. Start by preheating your oven to 225°F (110°C). This low temperature ensures your pavlovas dry out rather than bake, creating that satisfying, crunchy exterior and marshmallow-like center.
Next, line two baking sheets with parchment paper. If you’re feeling artistic, you might even draw circles on the paper to serve as a guide for your meringue nests. This makes for a more organized and visually appealing presentation. For a +10 in aesthetics, lightly grease the paper to ensure your pavlovas detach easily after baking.
Whipping the egg whites
Now onto the heart of our blackberry pavlovas: the meringue. In a clean, dry mixing bowl, add four large egg whites. When whipping egg whites, make sure there are no traces of yolk, as this can hinder the process. Using a stand mixer or hand whisk, beat the egg whites on medium speed until they begin to froth. The key is patience; gradually increasing the speed will help achieve the best volume.
Adding sugar and achieving the right texture
Once your egg whites become frothy, start adding sugar—about one cup, one tablespoon at a time. This gradual addition helps dissolve the sugar completely, which is critical for that silky, glossy finish. As you whip, you’ll want to watch for stiff peaks. When you lift the whisk, the peaks should stand tall and hold their shape without drooping, which is essential for a successful meringue.
Incorporating cornstarch and lemon juice
To elevate your meringue game, gently fold in one teaspoon of cornstarch and half a teaspoon of lemon juice. The cornstarch helps stabilize the meringue while the lemon juice adds a subtle tang that perfectly complements the sweetness of your blackberry pavlovas. It’s all about achieving that blissful balance.
Piping beautiful meringue nests
With your meringue ready, transfer it to a piping bag fitted with a large round tip. Pipe out rounds on your prepared baking sheets, creating wells in the center to hold your decadent toppings later. If you don’t have a piping bag, a ziplock with a corner snipped off works just as well! Each round should be about 3 inches in diameter—remember, these pavlovas will puff up slightly during baking.
Baking and cooling the pavlovas
Slide your baking sheets into the preheated oven and bake for about 90 minutes. Keep the door closed as much as possible to maintain consistent temperature. Once done, turn off the oven and leave the pavlovas inside to cool completely. This step is crucial for achieving that perfect texture; the gradual cooling prevents cracking and allows the insides to remain soft and chewy.
Making the blackberry jam
While the pavlovas cool, it’s time to whip up a quick blackberry jam! In a saucepan, combine two cups of fresh blackberries, half a cup of sugar, and a tablespoon of lemon juice. Over medium heat, cook the mixture until the blackberries break down and the sugar dissolves. Allow it to simmer until thickened—about 10-15 minutes. This tangy, homemade jam will be the perfect topping for your pavlovas.
Preparing the whipped cream
No pavlova is complete without a cloud of whipped cream! In a mixing bowl, combine one cup of heavy cream with two tablespoons of powdered sugar and a splash of vanilla extract. Whip it until soft peaks form. This cream will add luxurious richness to your dessert, balancing the tartness of the blackberry jam beautifully.
Assembling your blackberry pavlovas
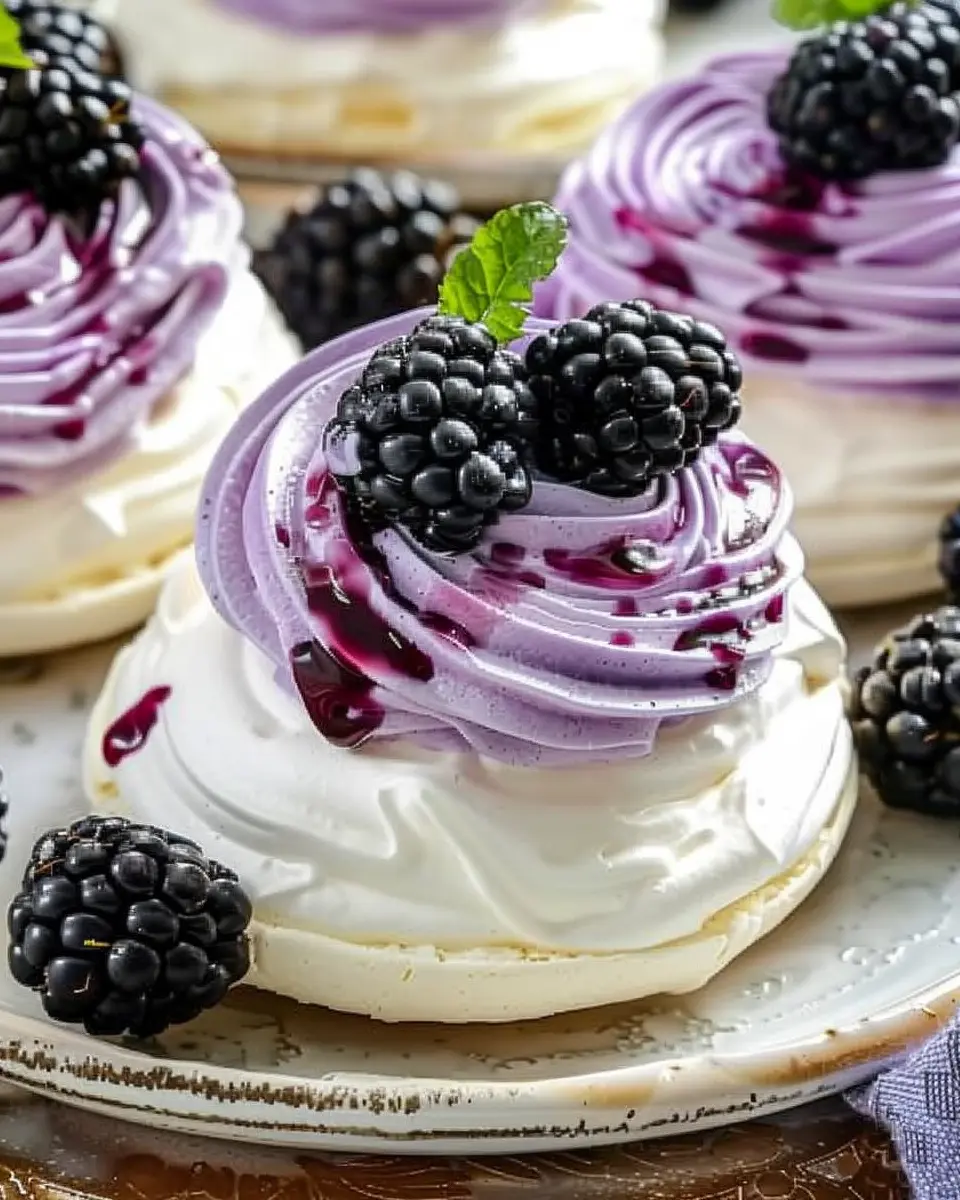
Now for the grand finale! Carefully place the cooled meringues on a serving platter. Generously smear each nest with whipped cream, and top it with a spoonful of your handmade blackberry jam. For a touch of sophistication, consider adding fresh whole blackberries or a sprinkle of mint leaves.
There you have it—your stunning blackberry pavlovas are ready to be served. Gather your friends for a taste test; I promise they’ll be impressed! Enjoy the delightful balance of textures and flavors—you’ve earned it!
For more fun dessert recipes, be sure to check out BBC Good Food for additional inspiration. Happy baking!
Variations on Blackberry Pavlovas
Delicious Fruit Toppings for Your Pavlovas
While blackberry pavlovas are delightful on their own, you can easily mix in or substitute different fruit toppings to refresh the experience. Consider these yummy alternatives:
- Raspberries: Their tartness beautifully complements the sweetness of meringue.
- Strawberries: Sliced fresh strawberries offer a classic touch.
- Kiwi: For a tropical twist, add some sliced kiwi for its vibrant color and flavor.
With an endless combination of fruits, you’ll never run out of inspiration!
Enhancing Whipped Cream Flavors
The whipped cream is a crucial component of your blackberry pavlovas. To elevate it, consider infusing it with various flavors:
- Vanilla Extract: A splash of pure vanilla adds warmth.
- Cocoa Powder: For chocolate lovers, a bit of cocoa can create a deliciously rich layer.
- Lemon Zest: A few shakes of lemon zest provide a refreshing contrast to the sweetness.
Feel free to get creative! You can even add a dash of matcha for a unique twist.
Alternative Sweeteners for Blackberry Jam
If you’re watching your sugar intake or simply want to try something different, there are numerous alternative sweeteners you can use for your blackberry jam. Some popular choices include:
- Honey: A natural sweetener that enhances flavor without overpowering.
- Maple Syrup: Adds an earthy richness that’s hard to resist.
- Stevia or Erythritol: For those seeking lower-calorie options, these are great substitutes with minimal impact on blood sugar.
Using these alternatives not only helps in adjusting the sweetness but also offers various health benefits.
Curious about more variations or tips? Check out these ideas to enhance your cooking adventures.
Cooking Tips and Notes for Blackberry Pavlovas
Key baking tips for perfect meringue
Creating blackberry pavlovas starts with mastering meringue. For a perfect texture, ensure your mixing bowl is completely clean and dry; any grease can prevent the meringue from whipping properly. Use room-temperature egg whites, as they whip up better, and add a pinch of cream of tartar to stabilize the mixture. Gradually incorporate sugar, beating until the meringue is glossy and forms stiff peaks.
Storing leftover pavlovas
If you have leftovers (though unlikely!), store them in an airtight container at room temperature. Avoid refrigerating your blackberry pavlovas since humidity can make them soggy. The meringue can lose its delightful crispness, so enjoy them within a day for the best experience.
Common pitfalls to avoid
Watch out for under-beating your meringue—this can lead to a fragile structure that collapses easily. Also, keep an eye on baking time; overly browned meringues taste burnt, diminishing the elegant flavor of your blackberry pavlovas. Lastly, avoid assembling your pavlovas too early—assemble just before serving to prevent sogginess from the cream and berries.
For more insights on meringue techniques, check out resources from The Kitchn. Happy baking!
Serving Suggestions for Blackberry Pavlovas
Ideal occasions for serving pavlovas
Blackberry pavlovas are the perfect dessert for a variety of gatherings. From intimate dinners to larger celebrations, these light and airy treats can elevate any occasion. Consider serving them at:
- Birthday parties, where their striking appearance will dazzle guests.
- A summer garden party, as the berries complement fresh, seasonal flavors.
- Holiday gatherings, where they provide a delightful, lighter option amidst heavier fare.
Presentation tips to impress guests
To make your blackberry pavlovas visually stunning, follow these simple yet effective tips:
- Layered Colors: Use fresh blackberries and a drizzle of berry coulis or a sprinkle of edible flowers for a splash of color.
- Individual Servings: Create single-serving pavlovas by shaping meringues into small nests. It adds a personal touch!
- Garnish Wisely: Top with whipped cream or Greek yogurt for creaminess; a sprig of mint can also elevate the look.
Want to impress guests even more? Check out more on food presentation techniques from Serious Eats for expert advice! Your blackberry pavlovas will not only taste amazing but also offer a feast for the eyes.
Time Breakdown for Blackberry Pavlovas
When preparing delicious blackberry pavlovas, understanding the time needed can make your baking experience smoother and more enjoyable. Here’s a simple breakdown:
Preparation Time
Setting everything up takes about 20 minutes. This includes gathering your ingredients like egg whites, sugar, and of course, those luscious blackberries.
Baking Time
Baking the pavlovas will require around 1 hour. This allows them to crisp perfectly and achieve that coveted airy texture.
Cooling Time
Patience is key! Let your pavlovas cool for about 1 hour after baking. This step is essential for that signature crispy shell.
Total Time
In total, you will need approximately 2 hours and 20 minutes to create your delightful blackberry pavlovas, from prep to serving.
Whether you’re whipping these up for a special occasion or just treating yourself, managing your time well will ensure your pavlovas come out divine! For a deep dive into perfect meringue techniques, check out this helpful guide from BBC Good Food.
Nutritional Facts for Blackberry Pavlovas
Calories per serving
Blackberry pavlovas are a delightful treat, with each serving containing around 150 calories. This makes them a lighter dessert option compared to many traditional sweets, allowing you to indulge without the guilt. When shared with friends, you can enjoy these heavenly creations while keeping a mindful eye on your overall calorie intake.
Sugar content
Each serving has approximately 20 grams of sugar. Although this may seem high, much of it comes from natural sources like the sweet blackberries and added natural sweeteners. It’s a good reminder to savor every bite, as these pavlovas offer a perfect balance of sweetness and creaminess.
Health benefits of blackberries
Blackberries are not just delicious; they’re also packed with health benefits! Rich in antioxidants, they support heart health and may even aid in weight management. These little gems are high in fiber, which can assist in digestion and keep you feeling full longer[^1]. Plus, with a wealth of vitamins, especially vitamin C, blackberries contribute to improved immunity. So, as you enjoy your blackberry pavlovas, remember that you’re treating yourself well!
[^1]: Health benefits of blackberries
Conclusion
Next time you whip up a batch of blackberry pavlovas, not only will you enjoy a scrumptious dessert, but you’ll also be nourishing your body with the goodness of blackberries. Happy baking!
FAQs about Blackberry Pavlovas
Can I make pavlovas in advance?
Absolutely! You can prepare your blackberry pavlovas a day ahead of your gathering. Simply bake the meringue shells and store them in an airtight container at room temperature. This keeps them crisp. You can whip up the cream and prepare the blackberries on the day of serving to ensure everything stays fresh. Just layer your toppings right before serving to maintain that gorgeous presentation.
How do I know if my pavlova is done?
The perfect pavlova should have a lovely crisp exterior, but it’s the inside that counts too! To tell if your pavlova is done, it should easily peel off from the baking paper and have a light, airy feel. When you gently tap the sides, you should hear a slight crunch. If you’re still unsure, you can check for a pale, slightly off-white color; any browning may indicate overbaking. For more detailed baking tips, you can explore this helpful guide on meringue perfection.
What can I substitute for egg whites?
If you’re looking to create blackberry pavlovas without egg whites, aquafaba is a fantastic substitute! This liquid from canned chickpeas can whip up beautifully to replicate the texture of egg whites. Using three tablespoons of aquafaba per egg white works wonderfully. Just make sure to whip it until it forms stiff peaks, and you’ll have a delicious, egg-free pavlova. For more information on aquafaba and its uses, check out this article that dives deep into alternatives for common cooking ingredients.
Enjoy your blackberry pavlovas!
Conclusion on Blackberry Pavlovas
Recap and encouragement to try making pavlovas at home
Creating blackberry pavlovas at home is an adventure that’s both rewarding and delicious. These light, airy meringues topped with tart-sweet blackberries and whipped cream are not just desserts; they’re an experience you can share with friends and family.
If you’ve never tried making meringue, now is the perfect time to dive in! Start slow, follow the guidelines, and embrace the process. You’ll learn something new and likely impress your guests with your baking skills. For more tips on perfecting your pavlova technique, check out this how-to article that provides expert insights. Remember, every expert was once a beginner—so roll up your sleeves and enjoy the journey!
PrintBlackberry Pavlovas: Easy, Irresistible Treat for Home Chefs

Indulge in the light and fluffy goodness of blackberry pavlovas, a perfect treat for any occasion.
- Prep Time: 20 minutes
- Cook Time: 1 hour
- Total Time: 1 hour 20 minutes
- Yield: 6 servings
- Category: Dessert
- Method: Baking
- Cuisine: American
- Diet: Vegetarian
Ingredients
- 4 egg whites
- 1 cup sugar
- 1 teaspoon vanilla extract
- 1 teaspoon cornstarch
- 1 cup heavy cream
- 2 cups fresh blackberries
Instructions
- Preheat the oven to 250°F (120°C).
- In a mixing bowl, beat the egg whites until soft peaks form.
- Gradually add sugar, beating until stiff peaks form.
- Gently fold in vanilla and cornstarch.
- Spoon meringue onto a lined baking sheet, forming circles.
- Bake for about 1 hour until the outside is crisp.
- Let cool completely.
- Whip the heavy cream until soft peaks form.
- Top the meringues with whipped cream and fresh blackberries before serving.
Notes
- For best results, use room temperature egg whites.
- Serve immediately after assembly to maintain crispness.
Nutrition
- Serving Size: 1 pavlova
- Calories: 250
- Sugar: 15g
- Sodium: 30mg
- Fat: 18g
- Saturated Fat: 11g
- Unsaturated Fat: 4g
- Trans Fat: 0g
- Carbohydrates: 27g
- Fiber: 2g
- Protein: 3g
- Cholesterol: 40mg